Thanksgiving is a very special occasion, primarily in the west. People meet over dinners and offer thanks to the ones they are grateful to. Roasted turkey is the main attraction on this occasion. A thanksgiving nail art may be a good idea while attending a thanksgiving party. Since it’s celebrated in the fall season, you may decorate your nails with maple leaves. You may also decorate it with colours that represent the fall season like orange, yellow and red.
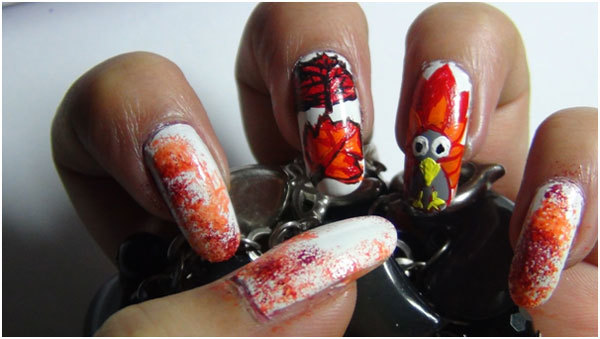
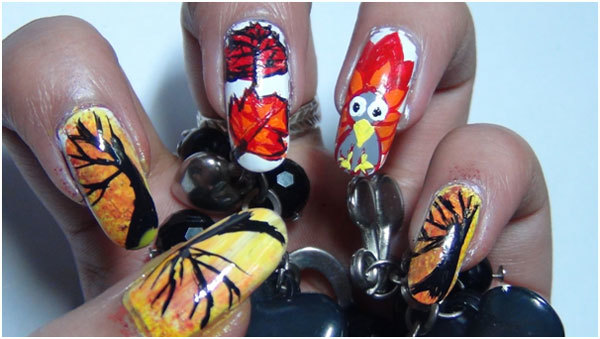
I will show you a thanksgiving nail art consisting of 3 different designs. You can create new designs of your own by combining the designs that I have created. You can go for just maple leaves nail art or just turkey on all the fingers. You may just do a fall forest scene with a tree having bare branches. It signifies that the fall weather gives way to new leaves.
Things Required:
- Base coat (optional)
- A skin coloured nail polish (optional)
- White, yellow, red and orange nail polish
- Acrylic paints in red, black, white and orange colour
- A thin nail art brush
- A transparent polish
- A toothpick or dotting tool
- A piece of sponge
Step 1:
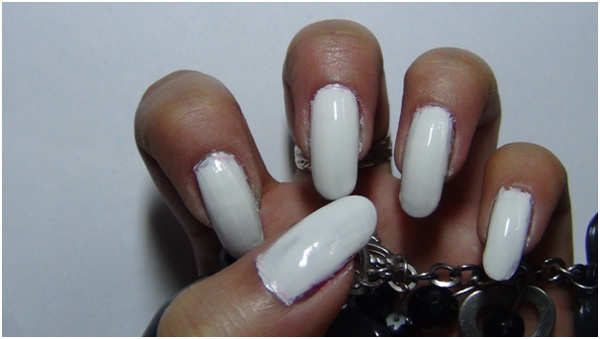
- Use base coat on your nails to prevent them from chipping and staining. After applying the base coat, let it dry.
- When it dries up, use a skin coloured nail polish. It’s to make the base more opaque.
- You may now directly use the white polish. Apply 2 to 3 coats provided you are using a good white polish.
- After white polish application, let your nails dry up completely before moving on with the painting part.
Step 2:
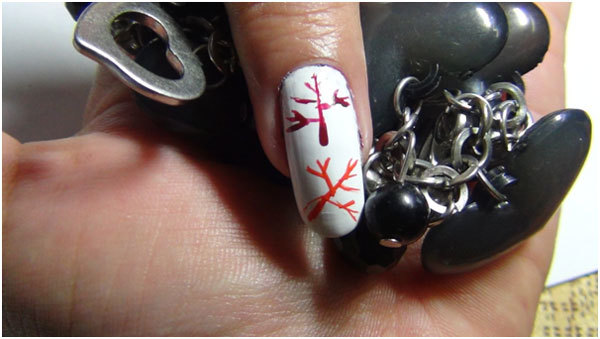
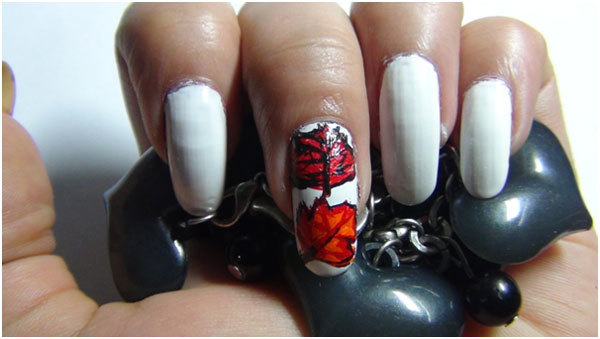
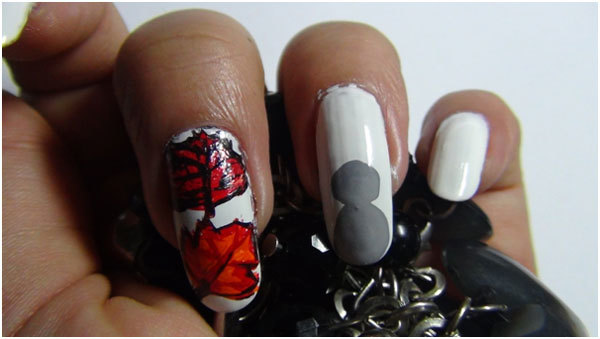
- For one nail, I have done two maple leaves.
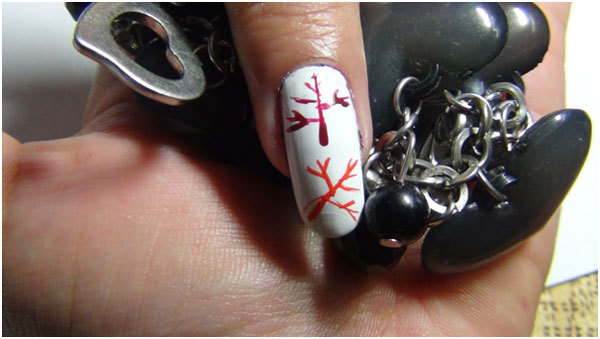
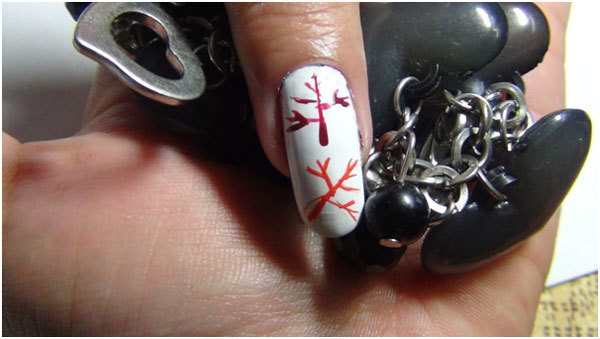
- Start drawing the veins by using orange and red acrylic colour. Use your thin nail art brush.
- The veins will give you the border that you need to follow to make the leaves.
Step 3:
- Follow the demarcations so created.
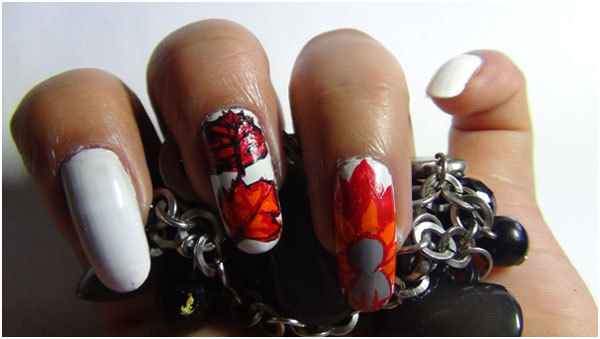
- Fill up the leaves with the two colours that you have used to create the veins.
Step 4:
- Draw the final veins with black acrylic colour and a little bordering for the red leaf.
- For the orange leaf, give the border in black and veins in red.
Step 5:
- Use your dotting tool to create two joined circles.
- Mix up black with white acrylic colour in a palette to create grey colour.
Step 6:
- Draw up some feathers in the shape of petals using orange colour.
Step 7:
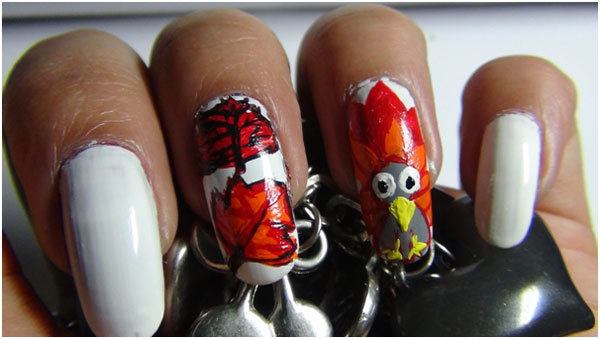
- Now, draw some more feathers using red.
Step 8:
- Use yellow, white and black acrylic colour to give eyes, beak and claws of the turkey.
Step 9:
- Next, we will create fall weather forest scene on the 3 nails that we left out.
- Use orange nail polish and a piece of sponge to apply some orange color on all the 3 nails.
- Follow it up with red nail polish.
Step 10:
- It’s your choice that you can do sponging with yellow nail polish after this. But, I have used a different technique here.
- Immediately after using red nail polish to sponge, I have used a thin layer of yellow nail polish all over the nails. This made the sponged colours bleed creating a different kind of a canvas.
Step 11:
- Now take your black acrylic color and thin nail art brush to create trees. I have done a single tree for each nail but you can draw as many as you want till it doesn’t look clumsy.
- Let it dry completely. Otherwise, after top coat application, your acrylic colors may bleed ruining the whole design.
- After it’s properly dried, use a top coat to seal this beautiful thanksgiving design.
Hope you enjoyed this nail art. What are you waiting for? Go, flaunt this amazing nail art this season.
Happy Thanksgiving!




0 comments:
Post a Comment