Kiss nail art designs are a popular nail art trend these days. These look very nice and you may sport these for your first date or for a romantic night out. These can be a good choice for Valentine’s Day too. I will show you two easy kiss nail art paints which you can try out with ease at home.
Kiss Nail Art Paint Tutorials
A. Sponge Kiss Nail Art:
This is a very easy to do kiss nail art design but trendy and cool.
Things required:
[ Read: Nail art brush ]
Step 1:
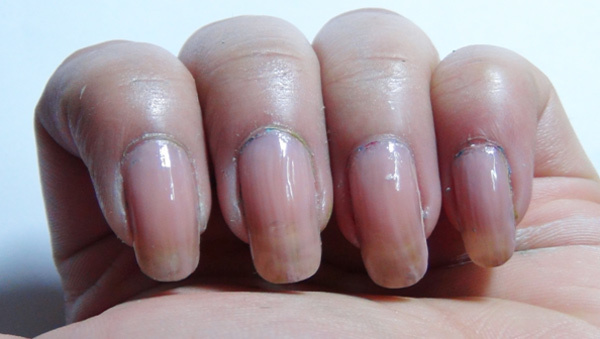
Use a base coat to protect your nails from acrylic colours or chipping. Now use a layer of skin coloured nail polish. This will make the base more opaque.
Step 2:
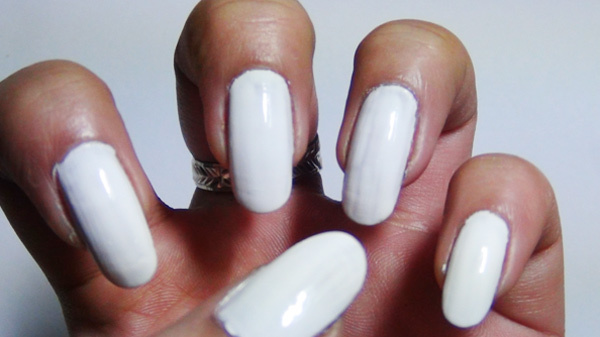
When the skin coloured nail polish is dried, use one or two coats of white nail polish. Let it dry completely before moving on to the next step.
Step 3:
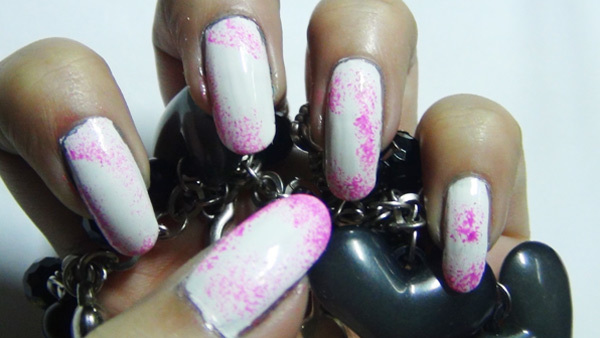
After the white nail polish has dried properly, use a small piece of sponge and dab some fuchsia nail polish on to all of the nails. It should look something like below.
Step 4:
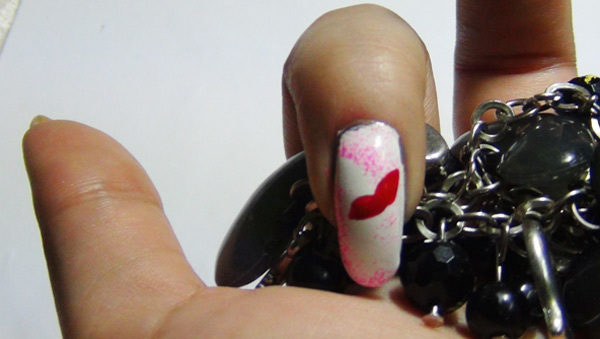
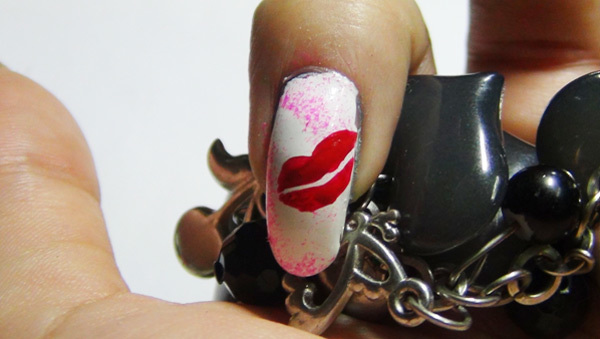
Now take your thin nail art brush and red acrylic paint. Start by drawing a design like the one shown below.
[ Read: Nail Art Design ]
Step 5:
Complete the design following the pattern shown below.
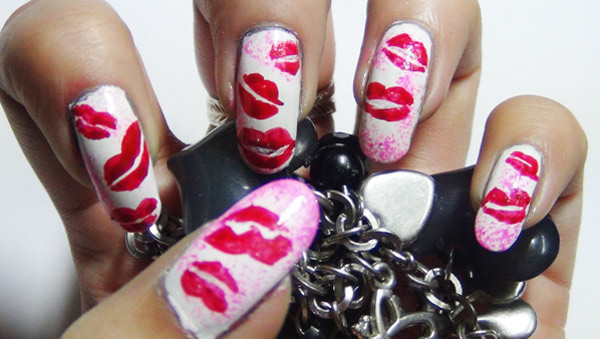
Step 6:
Draw up a few more kiss patterns on all the nails. When completed, it should look something like the illustration below. Let it dry properly otherwise the acrylic paints may bleed colour. Use a nice layer of transparent top coat to seal in the kiss nail art design.
[ Read: Hearts Nail Art ]
A kiss and a heart go hand in hand, right? The next design incorporates these two elements.
B. Kiss And Hearts Nail Art:
This is also a fun design. The design is a little more difficult than the one above and a bit more time consuming. However, if you have some time to spare, then you may give this pattern a try too. This is a very good design for those with short nails. The partial kiss design, done for this nail art, comes out perfectly when nails are shorter and rectangular.
Things required:
[ Read: Nail art ]
Step 1:
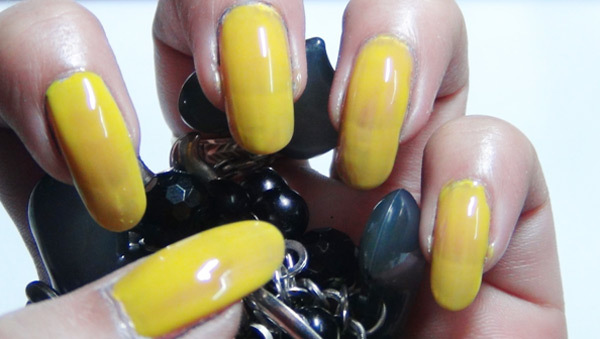
Apply a base coat to prevent nails from getting stained and to prevent chipping. Put on a layer of skin coloured nail polish to make the base more opaque. When it is dried, use yellow nail polish.
Step 2:
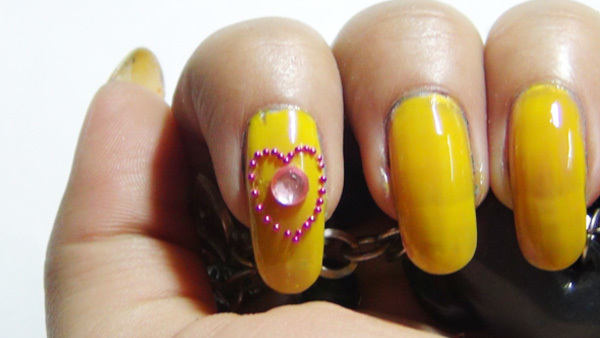
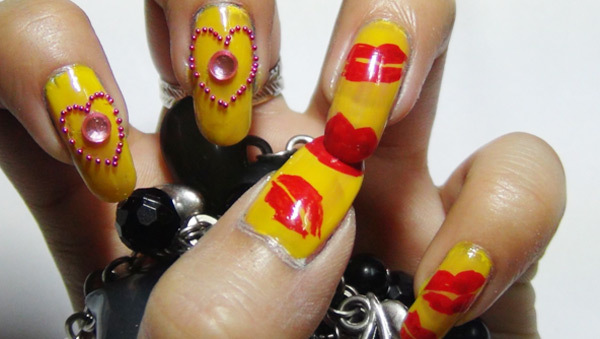
Now use a little bit of transparent polish on the centre of the first and second finger nails. Place the pink rhinestones on these dots of transparent polish. Now use some more transparent polish around the rhinestone. Take caviar beads with the help of a toothpick or orange stick and place them in the shape of a heart. It should look something like the picture below. Do one nail at a time.
[ Read: 25 Nail Art Games ]
Step 3:
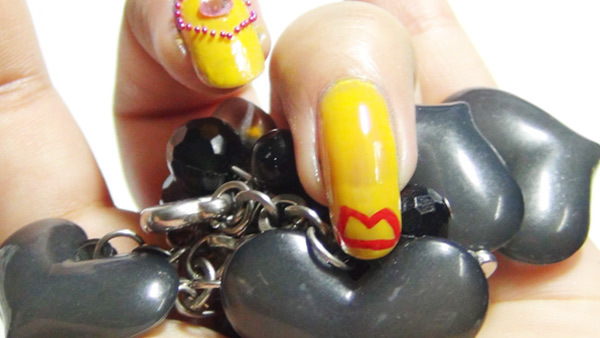
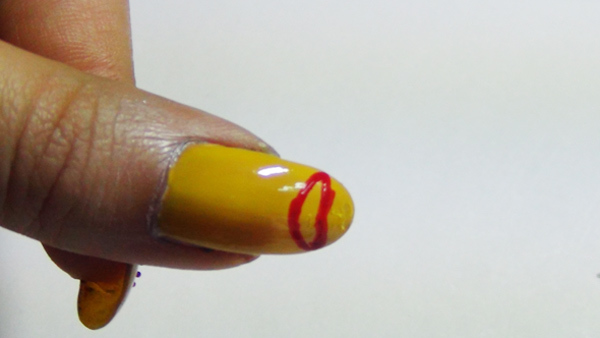
Now take your red acrylic colour and draw up a partial kiss pattern on the third finger nail.
Step 4:
Draw up the rest of the pattern on to the thumb.
[ Read: French Tip Nail Art Designs ]
Step 5:
Now fill in the designs with red colour. Draw up some more kiss patterns. The partial designs, when held together, will look like one kiss design. This looks perfect if your nails are short and rectangular in shape. You may go for normal kiss patterns too and avoid doing this partial pattern. When the whole design is completely dried, use a nice layer of transparent top coat.
[ Read: Nail Art Tattoo Designs ]
Hope you enjoyed both these kiss nail art designs. These trendy designs are not only fun but also help you stand out in a crowd. So let your individuality shine through with these nail art designs.


0 comments:
Post a Comment