Nail art is the ‘in’ thing now. Nail designs that depict the Aztec pattern is the trend of the day. While Aztec patterns have been created on clothes and bed linen till now, you can now create them on your nails too. However, the more detailing you want to create, the more time consuming it will be. I have tried creating an Aztec pattern of my own. You can try creating simpler patterns of your own choice. The best part about Aztec nail art is that there are no rulebooks that you need to follow for creating a pattern. The most common patterns in an Aztec print are zig zags, stripes, slanted lines and dots.
Aztec Nail Art Tutorial
Things required:
Step 1:
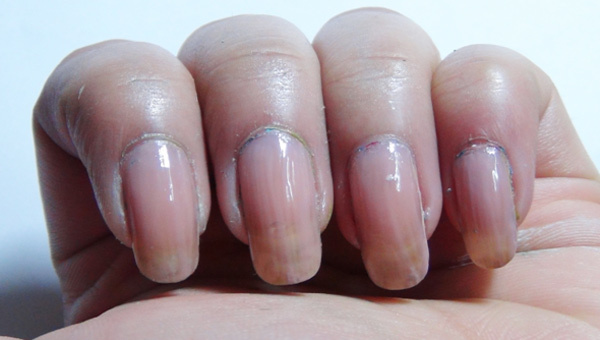
Use base coat because it will protect your nails from harmful effects of acrylic paint. The base coat also provides extra protection to nails that are prone to chipping or breaking. Once it is dry, use one layer of skin coloured nail polish. This will make the base more opaque and provide more strength to the nails.
[ Read: Nail art ]
Step 2:
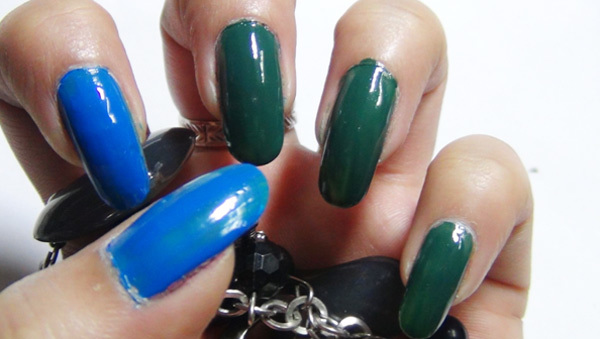
Use blue nail polish on to the thumb and first finger. Use green nail polish on the rest of the fingers. Let it dry completely.
Step 3: The thumb
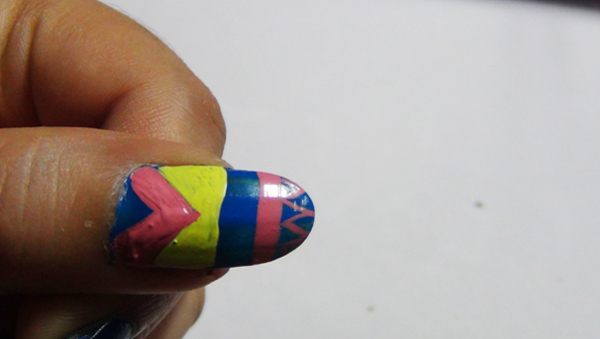
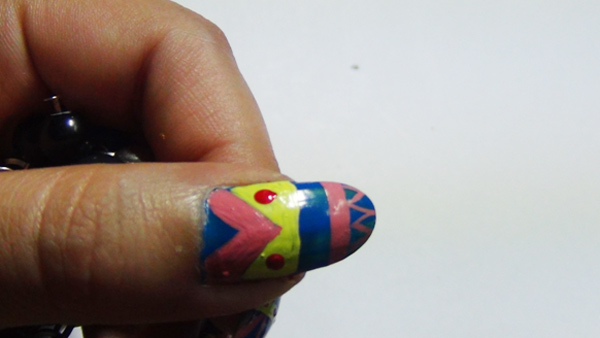
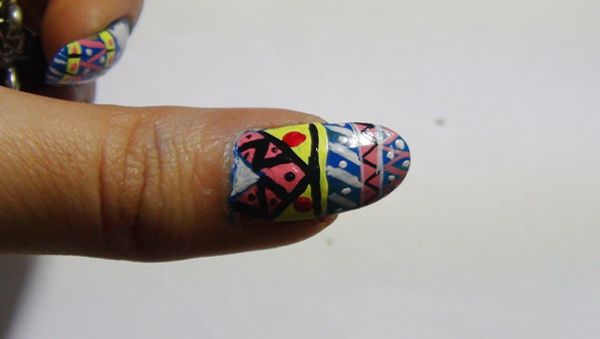
a. Use yellow to make two triangles on opposite sides. Use pink to make some stripes and a zig-zag pattern as shown below.
b. Make two dots in red on the inside of the yellow triangles.
[ Read: Blue nail polish ]
c. Use black striper or black acrylic colour and nail art brush to make some demarcations, stripes, dots and zig zag patterns as shown below. Use white to make some more slanted lines. Use a toothpick to make some dots in white on the spaces that are created.
Step 4: The first finger
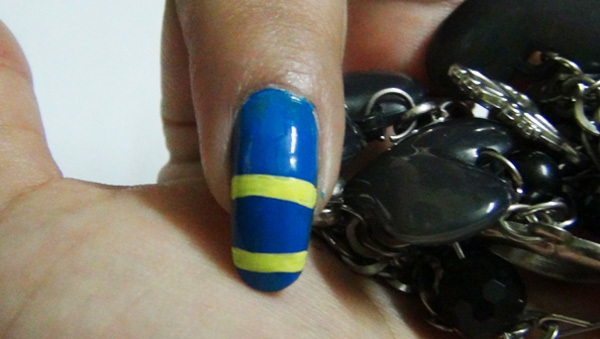
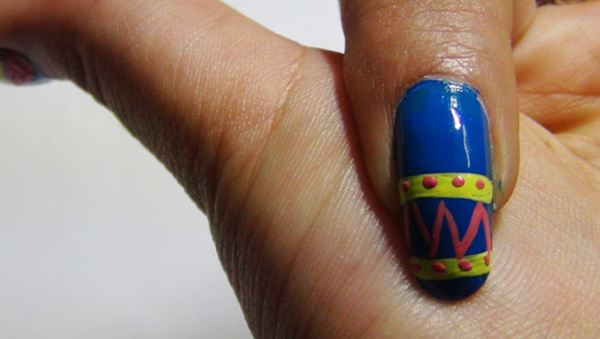
a. Make horizontal stripes in cream yellow. Use your nail art brush for this.
b. Now make some dots and a zig zag pattern in pink.
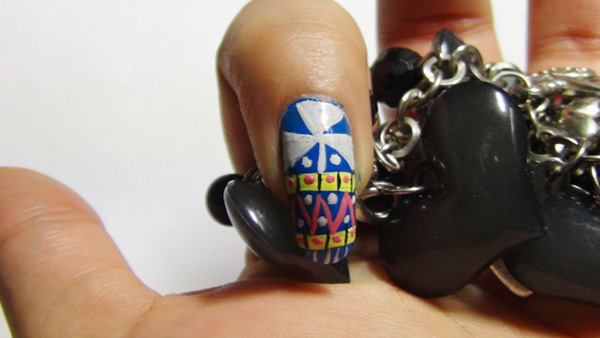
c. Use white to make a fan like shape. Use white to make some dots and stripes. Make some stripes in black. Finish the design by adding some dots in deep blue on to the white fan like shapes.
[ Read: Nail art brush ]
Step 5: The second finger
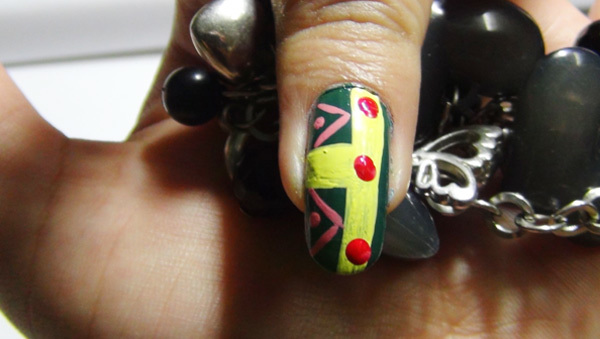
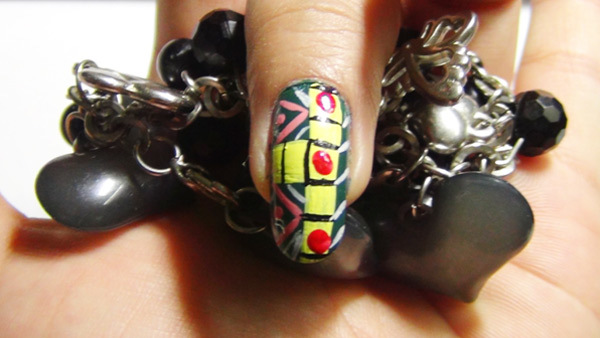
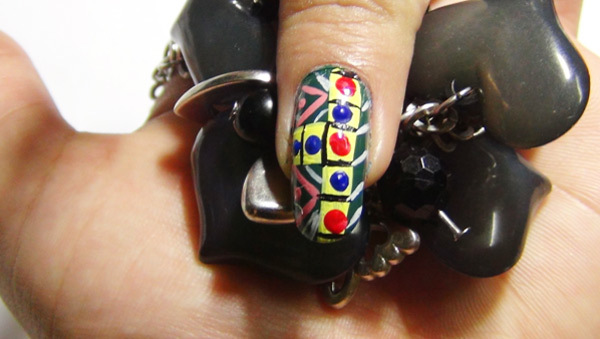
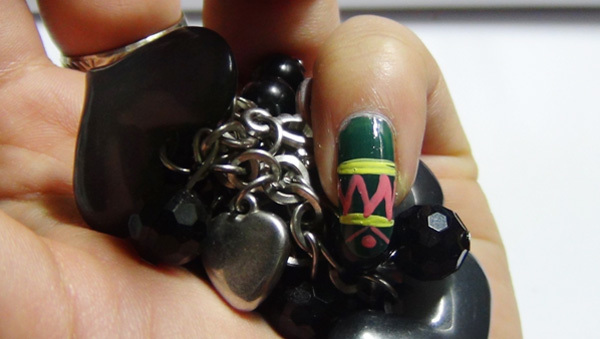
a. Make a vertical yellow pattern like below. Follow it up with zig zag patterns in pink. Put some dots in red. Further, put small dots in pink.
b. Use black to create a few stripes. Make diagonal stripes using white.
c. Finish it up by making some dots in deep blue.
Step 6: The third finger
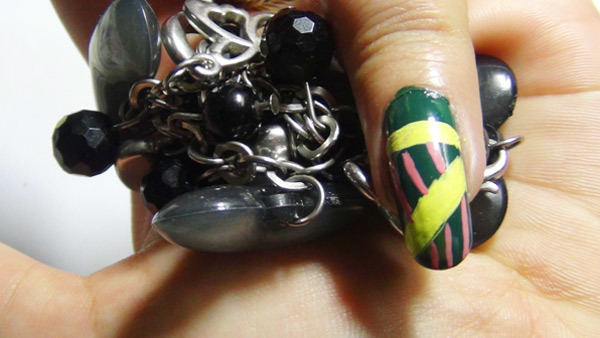
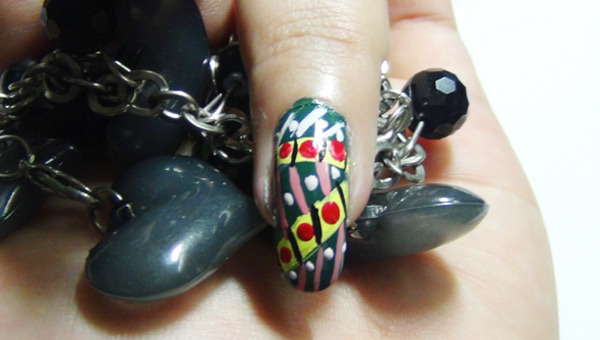
a. Take yellow and make one horizontal and one slanted stripe as shown below. Use pink to make some striped lines in the space.
b. Now make some stripes in white following the same pattern but in diagonally opposite direction. Use red and white to make some dots. Follow up with lines in black.
Step 7: The last finger
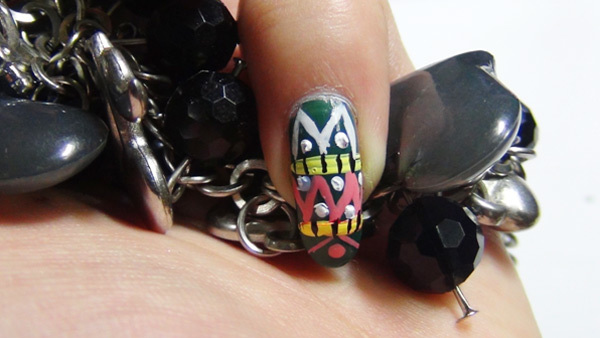
a. Use yellow acrylic paint to draw up two horizontal stripes. Follow it up with zig zag pattern in pink. Put a dot at the tip.
[ Read: Weird Nail Art Designs ]
b. Do some more zig zag patterns with white acrylic paint. Make some vertical stripes in black. Use some dots in white in the spaces created by the zig zag pattern. Use a toothpick or dotting tool for this. It should look as shown below when completed.
Step 8:
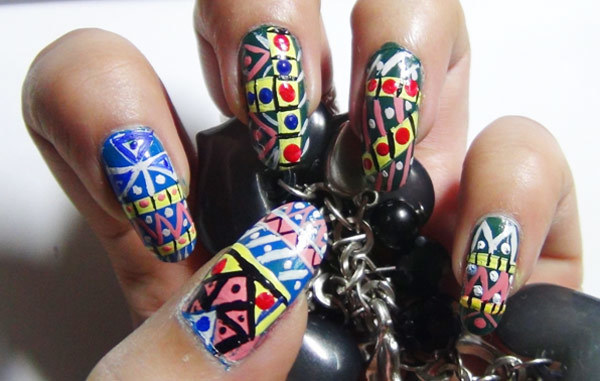
After all the finger nails are painted properly, it should look something like above. Let it dry completely before applying top coat. Seal in your aztec tribal nail art design and flaunt it.
[ Read: Colourful Nail Art Design Tutorials For Kids ]
Hope you enjoyed this Aztec nail print art design. Give this a try. It looks very good and will go with all colours and kinds of outfits.


0 comments:
Post a Comment