When it rains and there is some sunshine, we often look out of the window to catch a rainbow in the sky. It may be difficult to get a glimpse of rainbow in a busy city but it is not hard to create a rainbow pattern on your nail. Today I will show you two easy ways to do rainbow nail art designs.
Rainbow Nail Art Tutorials
A. Easy Vibgyor Rainbow Nails:
We all know that a rainbow has 7 colours. So for this rainbow color nail art we will follow the same VIBGYOR sequence of colours and create a lovely rainbow nail art.Things needed:
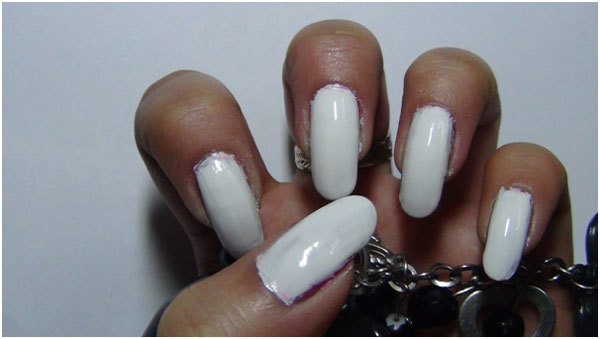
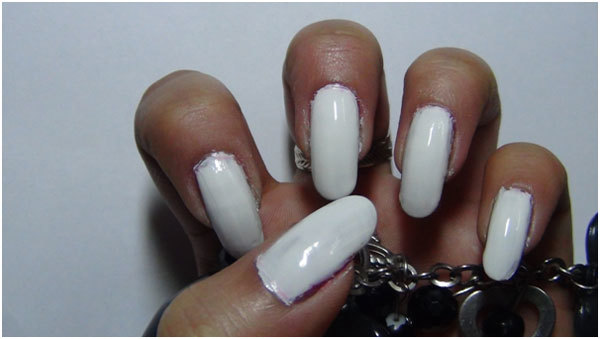
Step 1: Use base coat on your nails to prevent them from chipping and the harmful effects of acrylic paint. Let them dry. Now use two or 3 coats of white nail polish. Let this dry completely before you start using the acrylic paints.
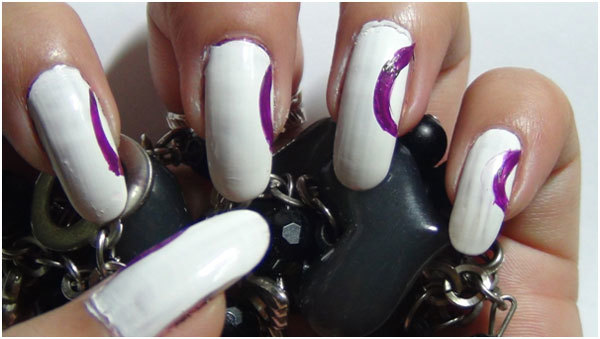
Step 2: Start by drawing a curved line with purple or violet. Follow the VIBGYOR sequence of colours in mind. If you don’t have a perfect indigo colour then mix a little bit of black, white and dark blue to get a dirty blue colour which will act as indigo.
[ Read: Nail art ]
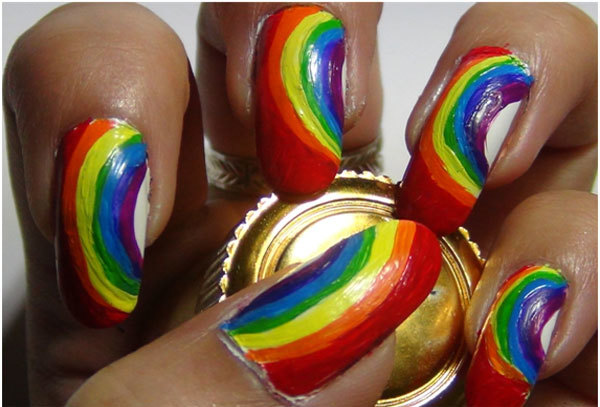
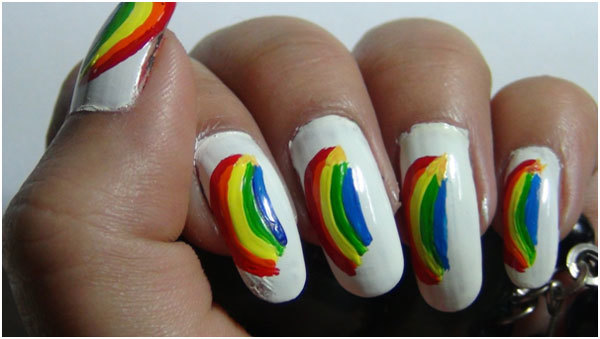
Step 3: When all the 7 colours are used, it will look something like below. Wait for the design to dry completely and only then apply transparent polish. If your acrylic paint is not properly dried, then the colours may bleed and damage the whole design. This is a lovely looking design and is a must try!
[ Read: Nail art brush ]
B. Rainbow Nails with Hearts & Clouds:
This is an easy cheat-trick for a rainbow nail art design. Here, we will be using some deco material like hearts or stars and we will use five colours instead of seven. This saves time.
Things required:
Step 1: Use a base coat to prevent your nails from chipping. This will also protect nails from harmful effects of acrylic paints. Let them dry. Put 2 coats of a good white polish. Let this dry completely before using acrylic colours.
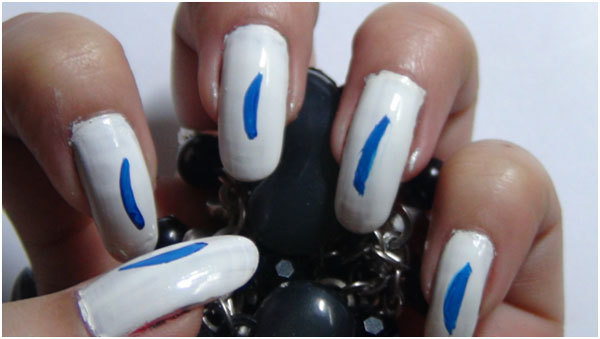
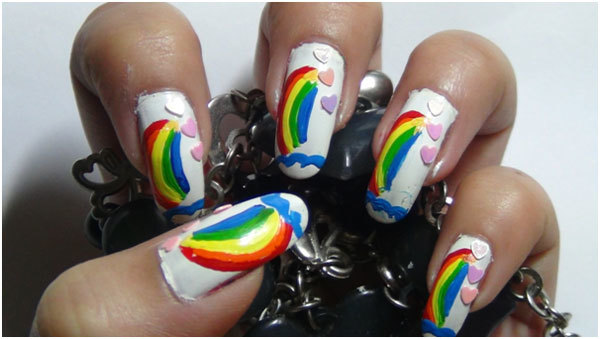
Step 2: Start by drawing the rainbow design with the blue colour. Make small curved lines at the centre of the nails. Do not make the first line i.e. the blue one, too long. The last line i.e. red can be more curved and longer. The further you move from blue to green and so on, the lines will become more curved and longer.
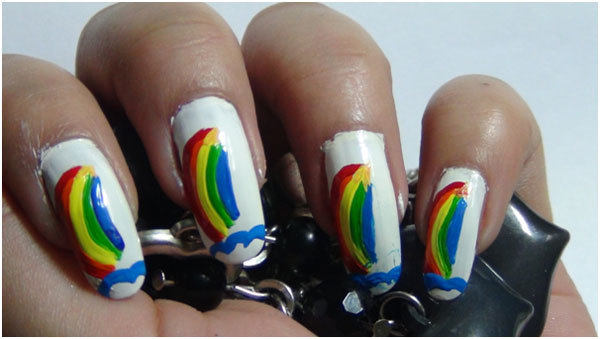
Step 3: Complete the rainbow design like I have done below. Use 5 colours in such a way that the colours look like they are emerging from one point. There should be enough space at the side of the rainbow for placing the hearts.
[ Read: Nail Art Spas In Hyderabad ]
Step 4: Take your nail art brush and blue colour. You can use blue nail polish too. I have used blue acrylic colour to paint curved lines at the nail tip. If your nails are short, you can avoid this.
Step 5: Take your transparent polish on a palette. Now use a toothpick to pick up bits of transparent polish and put it on to where you want your plastic hearts to be placed. Do one nail at a time; else the polish will dry before you can place your hearts. Now take a pair of tweezers and place one heart after another. I have placed 3 hearts in a row for each nail.
Step 6: Let the design dry completely. Press the hearts a bit to stick them firmly. Seal your design with a layer or two of a transparent top coat. Here is how it should look.
[ Read: Nail Art Spas In Bangalore ]
Hope you enjoyed both the versions of rainbow nails. You can create other different rainbow pattern nails too. If your nails are short, then you can use just the five colours which are very pronounced in a rainbow – blue, green, yellow, orange and red. This is a cheat trick to get lovely looking rainbow nail art without having to use all 7 colours. Give it a try!


1 comments:
- Thôi, các ngươi đi về đi! Nhớ, cần phải nghe lời ta nói! Còn nữa, ngàn

vạn lần đừng có gây chuyện với Đoạn Vân đại nhân! Ta không muốn thấy
Long Tộc bị diệt toàn tộc đâu!
Nói xong, Tiểu Bạch chuyển người sang Đoạn Vân, nắm tay Đoạn Vân rồi kéo
hắn bay vào trong thành. Còn đám Cự long này cũng tỏ ra bất lực mà bay
ngược trở lại Đường Cổ Lạp Sơn!
Buổi tối hôm đó, các chung đoan (lực lượng chủ lực tối cao) của Đoạn Vân
tụ tập lại.
- Tiểu Bạch, nàng hãy cho chúng ta biết, nàng rốt cuộc bị làm sao thế?
Vì sao nàng nói nàng không phải là Long tộc nữa vậy? - Đoạn Vân hỏi có
chút hoài nghi khó hiểu.
- Vân ca, từ sau kiếp nạn đó, một thân thực lực và đại bộ phận Long khí
của ta đều bị tên hèn hạ Tạp Mạt Tư Đặc hút đi rồi, hơn nữa, thời gian ở
trong Ma Thú Sâm Lâm, vì để bảo trụ mạng sống của mình, ta lại dùng hết
sức làm tiêu tán phần Long khí còn thừa! Do đó bây giờ, ta đã không thể
xem như một đầu Cự long nữa! Hơn nữa, ta cũng không thể tái biến thân
thành Long được!
Tiểu Bạch rất kiên nhẫn giải thích cho đám người Đoạn Vân. Về phần vì
sao nàng xưng hô với Đoạn Vân là Vân ca, thì đó là vì buổi chiều Đoạn
Post a Comment