When the name “green” comes to our mind, we tend to visualize forests and other greenery. The colour green in itself is a very beautiful colour. In fact, sometimes it is considered to be the colour which can make you look more vibrant, especially during winter. You can wear this colour on your dresses like jackets, blazers or trousers. When opting for a green dress, you may want to try out green nail art. Today, I will show you two easy-to-do green nail art designs which you can try out.
A. Green Leaves Nail Art:
The first one is a purely free hand nail art design. Let’s see how you can do it.Things required:
Step 1:
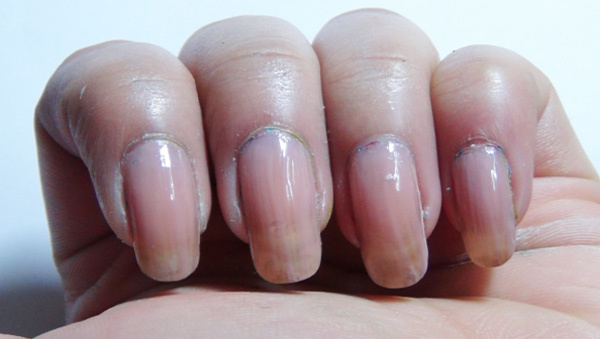
Use a base coat to protect your nails from acrylic colours or chipping. Now use a layer of skin coloured nail polish. This will make the base more opaque.
Step 2:
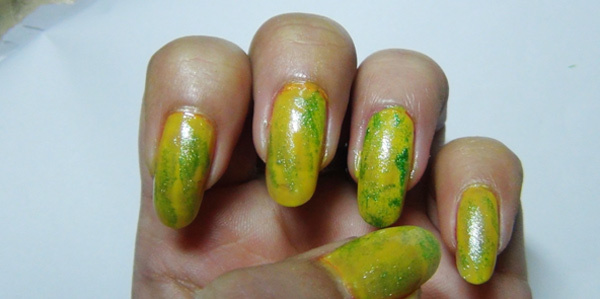
When the skin coloured nail polish dries, use 2 coats of yellow nail polish. When the yellow colour dries, take a small bit of sponge and dab on some metallic green nail polish on to the nails. It should look something like below.
Step 3:
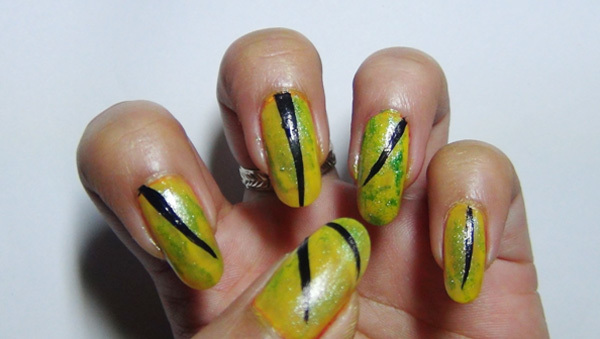
Now use your nail art brush and black acrylic colour. Use this colour to make the central veins of the leaves. It should look something like below.
Step 4:
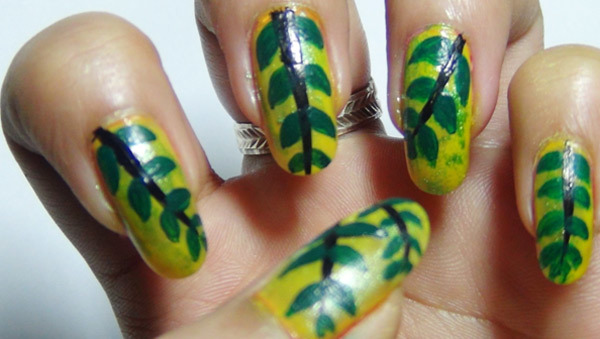
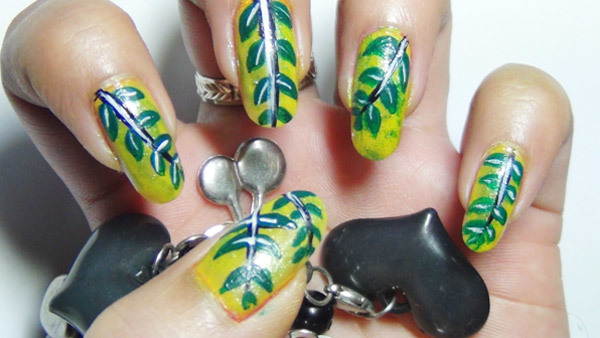
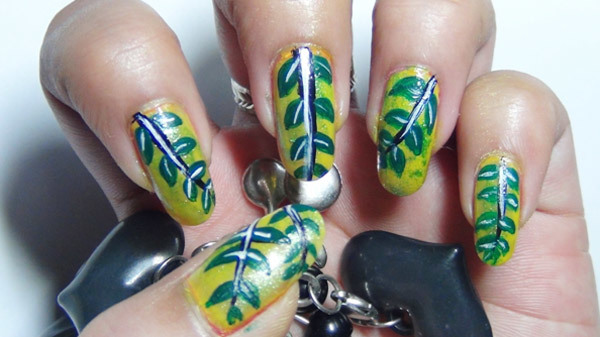
Now clean the nail art brush. Take green acrylic colour and paint some leaves as shown below.
Step 5:
After you have done the leaves, use a white striper or a very thin nail art brush and make white veins for the leaves.
Step 6:
Wait for the design to dry completely. Use a transparent top coat to cover up the whole design. It should look something like the picture below, when done.
[Read:Best Matte Nail Polishes]
B. Decorative Green Nail Art:
Things required:
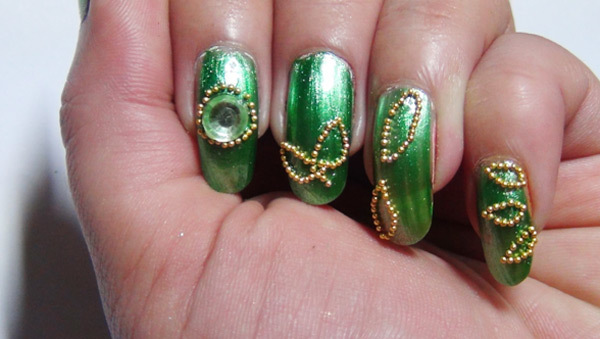
Gold goes very well with dark green. Keeping this in mind, I came up with this glittery nail art which you can wear with your green party outfits. You can also try this for traditional occasions. You can wear this with a golden or green saree with golden zaree work. You can also try this with your suits or salwars.
Step 1:
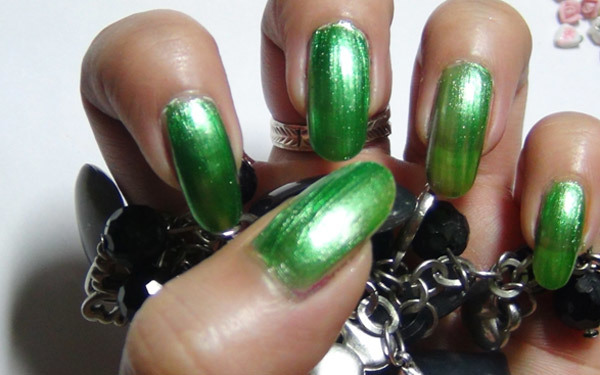
Apply a nice layer of skin coloured polish. Next apply 2 coats of green metallic nail polish. Let it dry completely.
Step 2:
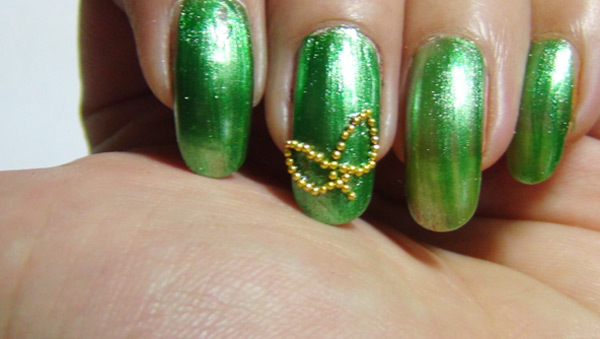
Now apply transparent polish little by little in the shape of leaves. Take golden caviar beads with the help of an orange stick. Now place these as per the shapes you have in mind for the leaves.
Step 3:
In this way, complete a few leaves and also place a big rhinestone on to the first finger with the help of the transparent polish or nail art glue.
Step 4:
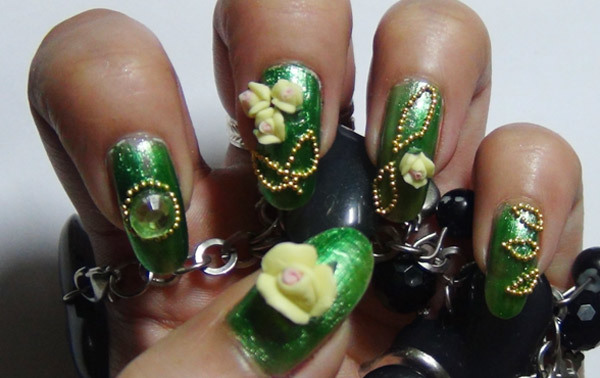
Now use some transparent polish or nail art glue on the places where you would like to place ceramic flowers. Next, take a few ceramic flowers and place them accordingly. I’ve mostly used small flowers and just one big flower for the thumb. You can decorate the nails as you like. Lastly, use a thick coat of transparent polish to cover your design. Do not forget to use transparent polish at the roots of the ceramic flowers. Here is how your nail art should look when complete.


0 comments:
Post a Comment