We are all fans of Disney movies and cartoons. It’s time we create some Disney nails. Here we give two creative Disney nail art tutorials in a stwepwise manner for you to try.
Disney Nail Art Tutorial
A. Disney and “Finding Nemo” nails:
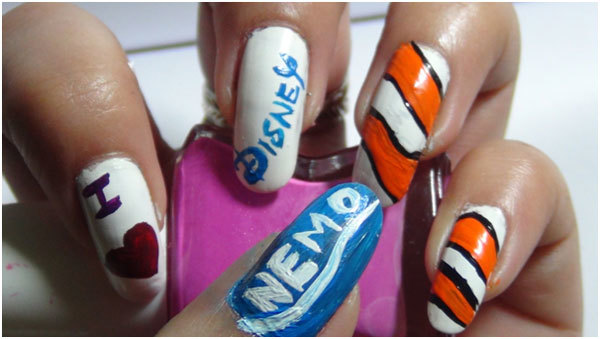
This Disney nail art is inspired by the very popular Disney film, “Finding Nemo”
Things required:
[ Read: Nail art ]
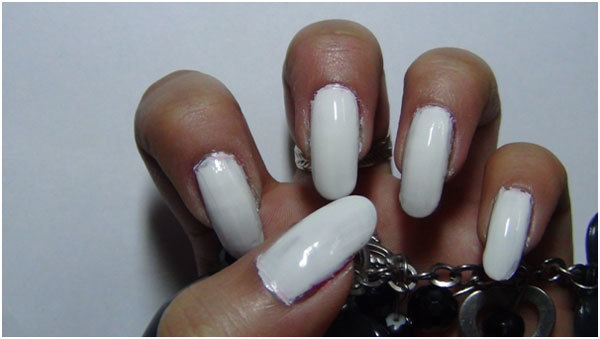
Step 1: Use a base coat to prevent your nails from chipping. Base coat will also strengthen the nails and save them from harmful effects of acrylic colors. Let it dry. Follow up by using 2 coats of a good white nail polish. Let your nails dry before moving on to step 2.
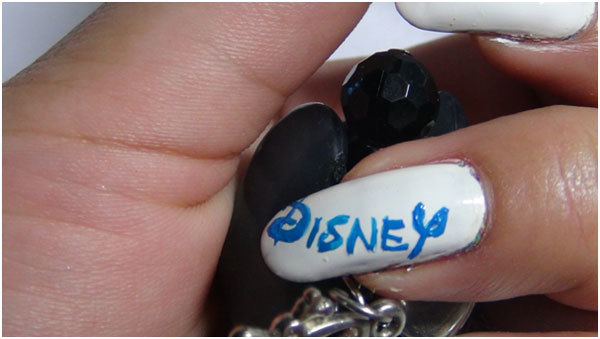
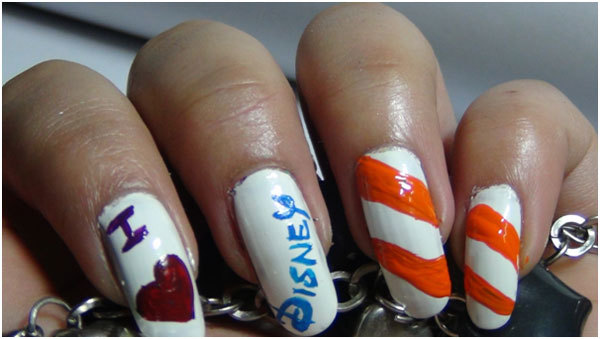
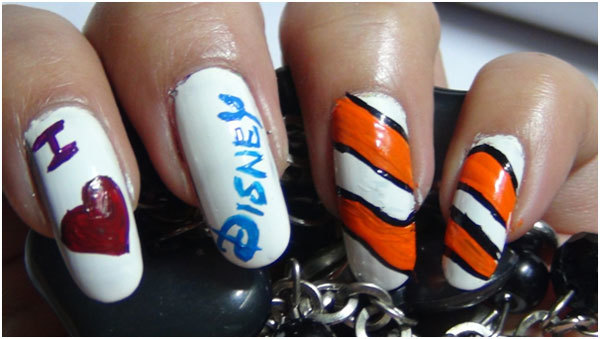
Step 2: Let the white base dry completely. Now take your nail art brush and blue acrylic colour. Draw up the “Disney” font with very steady hands. Make it a bit diagonal to get enough space to draw it. You can use blue nail polish too, but nail polish has a tendency to dry more quickly and so you might not be able to draw the font perfectly. So it’s best to use blue acrylic color.
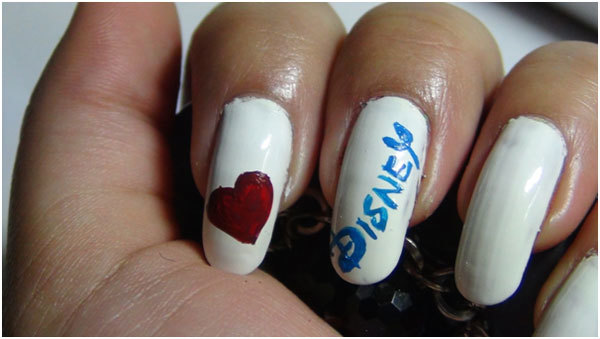
Step 3: Clean your nail art brush and take red acrylic paint. Draw a heart for the first finger.
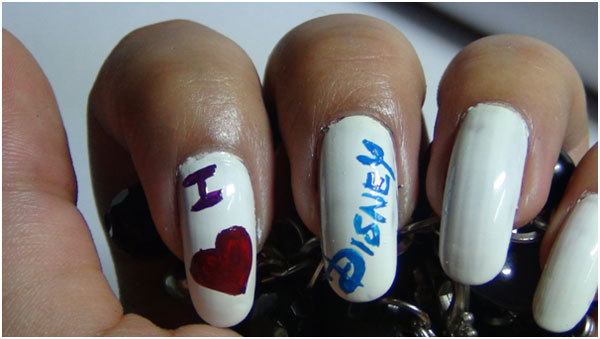
Step 4: Clean your brush and take purple acrylic color. Draw an “I” on top of the heart. You can use red colour for both the “I” and the heart.
Step5: For the 3rd finger and the last finger, use your nail art brush and orange acrylic color (you can use an orange nail polish too) to draw up broad wavy stripes like below.
Step6: Take the thin nail art brush and black acrylic colour and give some borders to the stripes. You can also use a black striper.
[ Read: Nail art brush ]
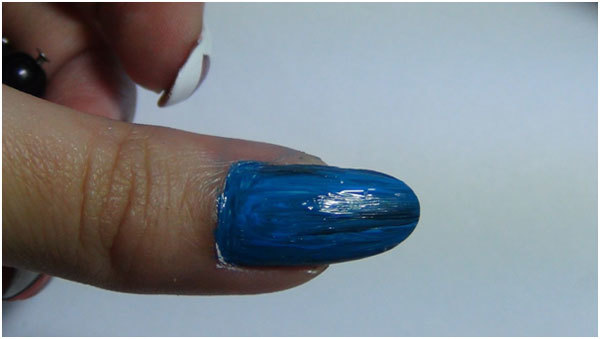
Step7: Use a little bit of blue colour on to the white base colour of the thumb.
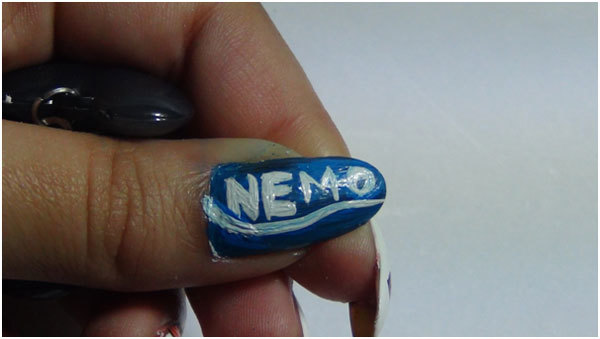
Step8: Take white acrylic colour and your nail art brush. Very carefully and with steady hands, draw up the font “NEMO” and the line below it. It should look something like below.
Step9: Let the whole design dry completely. Now use a transparent top coat. This design looks very trendy and you can sport it with almost any type of trendy outfits – Tops, jumpsuits, shorts or even short skirts.
[ Read: Nail art designs ]
B. Mickey Mouse Disney nails:
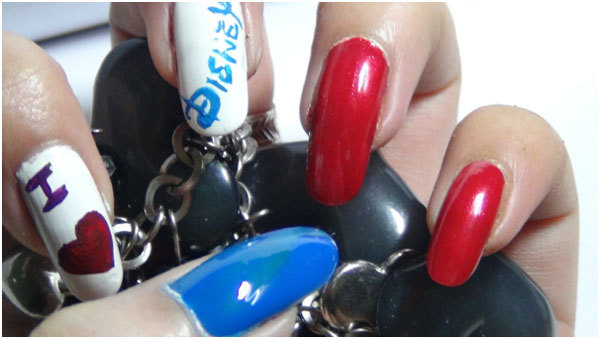
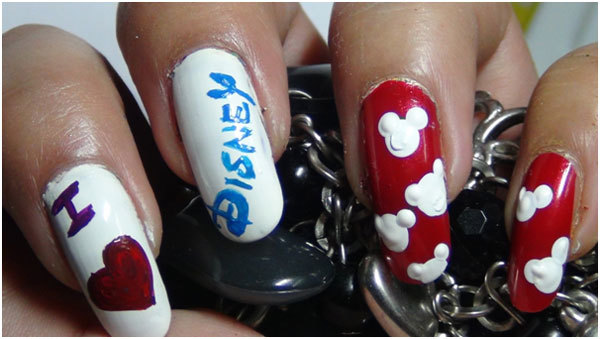
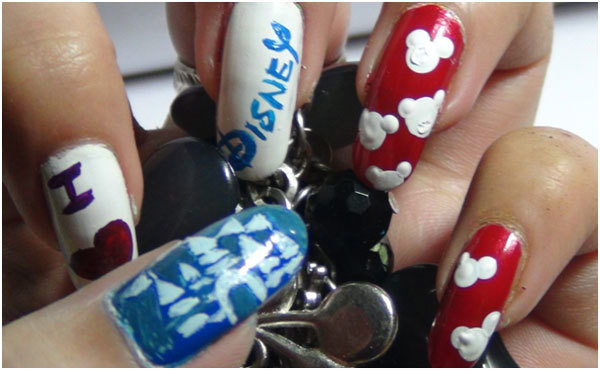
This is another version of Disney nail art designs. I have made the same design on the first 2 nails. I have used red nail polish for the last two finger nails. I have used blue nail polish for the thumb.
Step1: Let the nail polishes dry completely. It should look something like below.
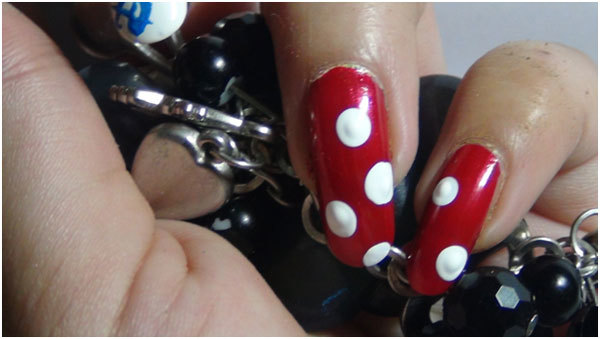
Step2: Use your dotting tool and white acrylic paint. You can also use white nail polish. If you want to keep it simple and don’t want to do a Mickey Mouse pattern, then you can keep it simple with just polka dots on the red base. I preferred to do the Mickey Mouse pattern here. Firstly, put a big dot on the nails. This will act as the face of Mickey Mouse. Do not put too many big white dots because then, there won’t be enough space to make the ears.
[ Read: Nail Art Spas In Chennai ]
Step3: Now use a small dotting tool or a toothpick and draw the ears like shown below.
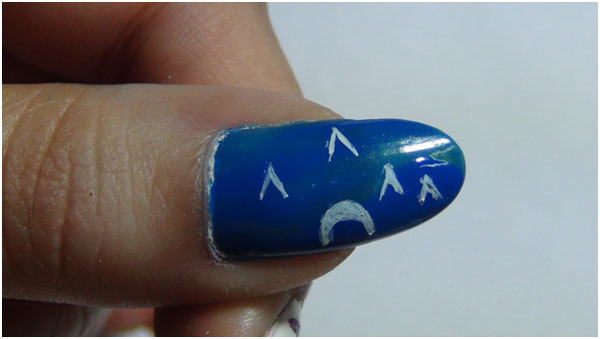
Step4: For the thumb, we will do a Disney castle logo. Start by drawing some triangle shapes and an elongated semi circle at the bottom centre.
Step5: Complete the castle design by giving some white horizontal lines. Don’t forget the flags on top of the towers. Let this design dry completely. Now use a transparent top coat to seal this beautiful design.
[ Read: Nail Art Spas In Kolkata ]
Hope you enjoyed both the Disney nail art designs. Give these a try. You can create new designs of your own by permutation and combination of designs like this.


1 comments:
chung cư newskyline văn quán

hateco hoàng mai
chung cư hà nội
Hai Đại Trưởng lão Long Tộc và đám Cự long kia thấy Công chúa của bọn họ
quan hệ mập mờ với Đoạn Vân, tất cả đều rất giật mình! Nhưng họ cũng
không dám có biểu hiện gì bất mãn, dù sao sự thật vẫn là sự thật.
- Công chúa, chuyện ngươi nói Long Hoàng đại nhân đã làm hại ngươi thì
chúng ta không thể nghe từ một phía được, do đó chúng ta phải về hỏi cho
đến nơi đến chốn! Nếu sự thật giống như những gì Người nói, ta nghĩ
Trưởng lão Viện chúng ta nhất định sẽ ra mặt giải quyết chuyện này.
Chúng ta kết hợp quyền của mười Đại Trưởng lão, sẽ có thể xử phạt Long
Hoàng, hơn nữa chúng ta còn có thể đề nghị để Người đảm nhiệm chức Long
Hoàng nữa. Đoạn Vân tuy là tội nhân của Long Tộc, chúng ta có thể nể mặt
Người mà không truy cứu, hơn nữa, chúng ta hy vọng Người đừng ở cùng hắn
nữa! Dù sao nếu Người muốn trở thành Long Hoàng, thì không thể ở cùng
với loài người được!
Cửu Trưởng lão rất cung kính nói với Đài Ân Na.
Đoạn Vân cười cười, không để thèm ý. Tùy ngươi muốn nói như thế nào thì
nói, lão tử có thực lực mà! Các ngươi muốn nói gì là có thể nói cái đó
dịch vụ hoàn thuế
dịch vụ kế toán thuế
dịch vụ quyết toán thuế
khoá học kế toán thuế
trung tâm kế toán
dịch vụ báo cáo thuế hàng tháng
dich vu ke toan noi bo
dịch vụ dọn dẹp sổ sách
kế toán cho giám đốc quản lý
Post a Comment