Looking beautiful and polished tops the priority list of all women. Isn’t that why you posses zillions of make up products? But what if you are travelling? You want to carry each and every bit of your makeup essentials for the perfect look. But where is the space? The already ballooned bags complain as you try to squeeze in another makeup item. Here is when smart makeup tricks come into play. You need to carry just a few multipurpose products and you are all set. What do I mean by multipurpose makeup products—that is what you are probably wondering.
Well, this post is going to explain it all. I am going to illustrate a simple yet remarkably pretty eye makeup trick using blushes. Yes blushes! You can carry just two shades of blushes, which can serve for your cheek as well as day eye makeup. All you need to be cautious about is using clean fresh brushes. Sounds interesting? Check out this eye makeup tip using blushes and say hello to a gorgeous you!
What do you need to do?
Step 1:
Start with well moisturized and concealed under eyes. This is going to be the first step in any eye makeup irrespective of the time of day.
Step 2:
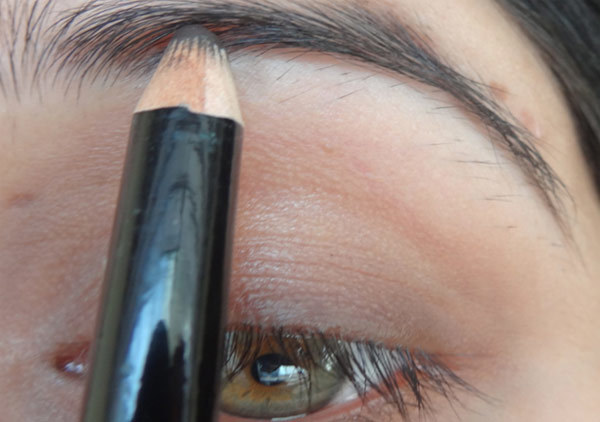
Second thing will be filling your eye brows. You have the options of pencil, powder or wax available in the market for the same. You can opt to fill the brows in the start like me or when you are done with creating the desired eye look.
Step 3:
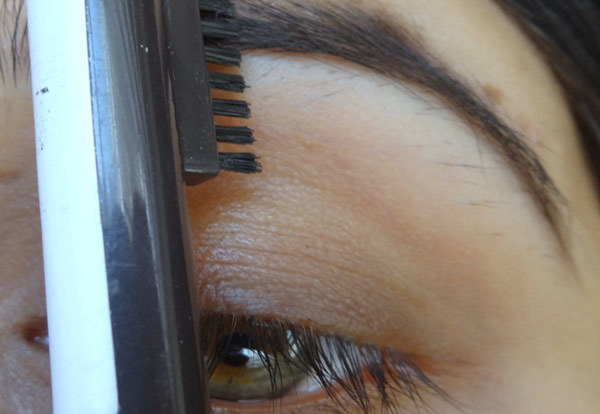
Brush the hair of your eyebrows to set them in proper shape.
Step 4:
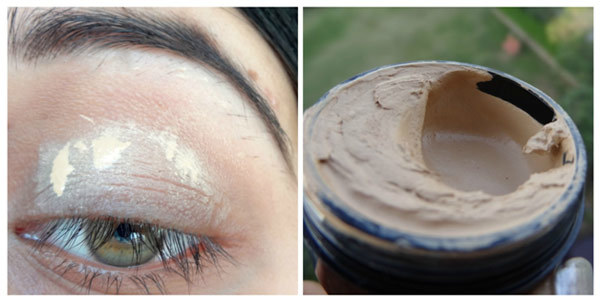
Dot some eye makeup base on your eyelids and then blend. This step is important especially for people who have oily lids. No matter how lovely the eye makeup is, without a primer or base, the oil from the lids will ruin it all.
Step 5:
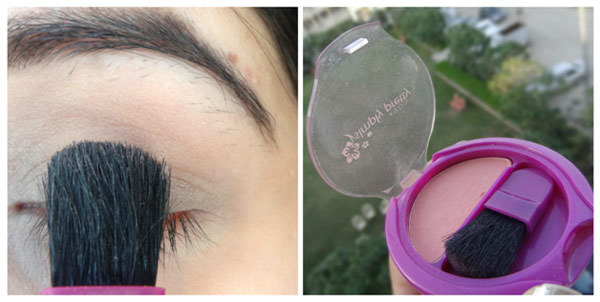
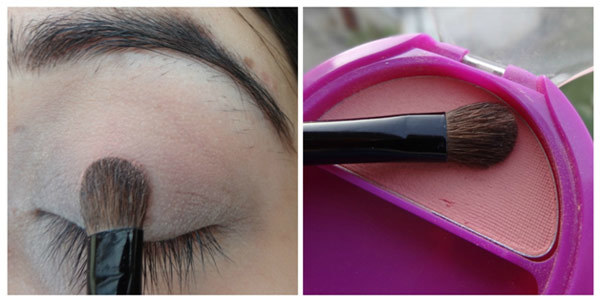
The first shade of the blush that I have is a light peachy one. This is a good shade to be used all over the lid. This will instantly brighten your eye area and will make the whole face look bright and awake. This blush is from the Avon Simply Pretty range.
Step 6:
You may pack it on with the brush provided with the blush or your regular eye makeup brush. I prefer the later. Patting the powder is a lot easier with the shader brush as compared to the blush brush.
Step 7:
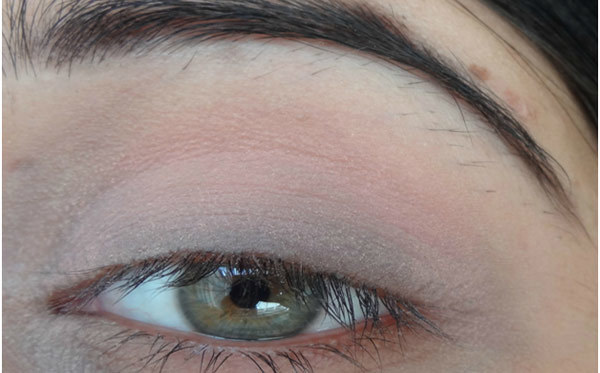
That is how it looks on the eyes—quite light but great for day wear.
Step 8:
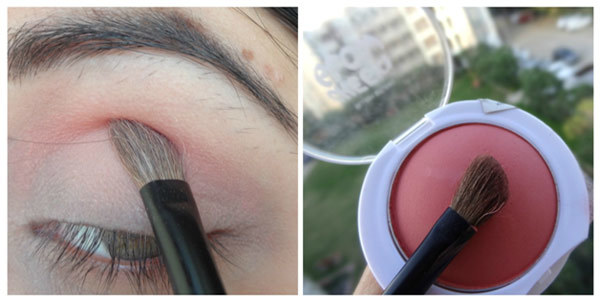
Now, taking the second blush shade, which is more of a pink with little bit of peach undertones, sweep in the socket area. This step gives a more defined look to your eyes. The blush used is Maybelline Cheeky Glow in the shade Fresh Coral.
Step 9:
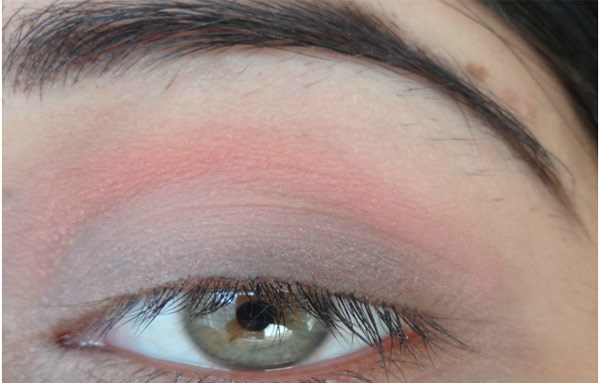
You can see—the eyes are already looking fresher than before!
Step 10:
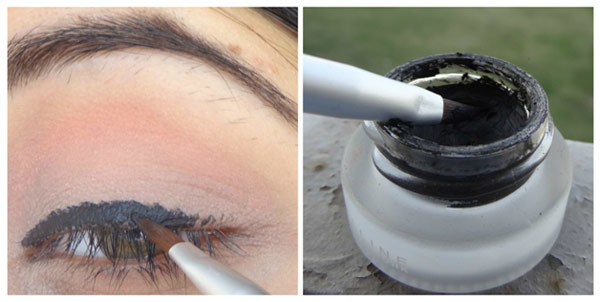
It is time to apply a thin eyeliner. Gel eyeliners are hands down the best in terms of staying power and pigmentation. The one I am using here is from Maybelline.
Step 11:
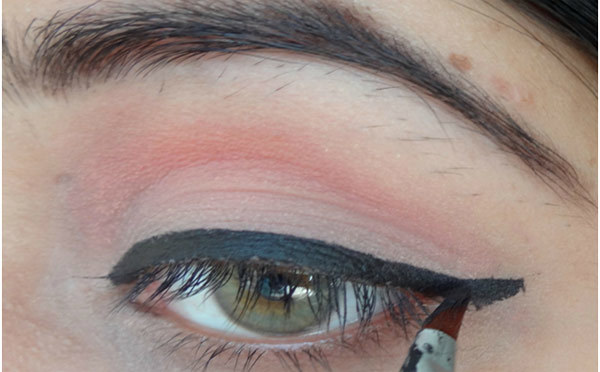
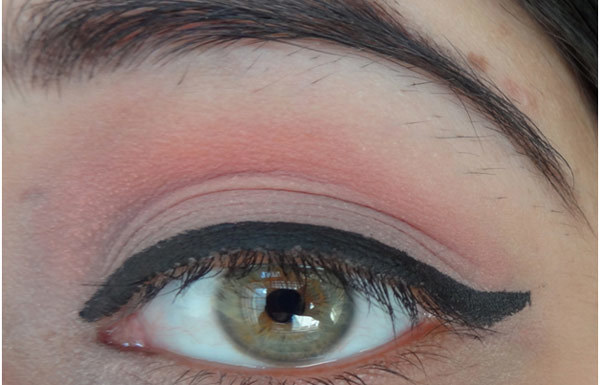
Extend your eye liner brush upwards and outwards to achieve the perfect winged look. I like the line to be thin when it is winged. That suits me better. If you have hooded eyes, thick winged eyeliner would look better.
Step 12:
We are done with the eyeliner here.
Step 13:
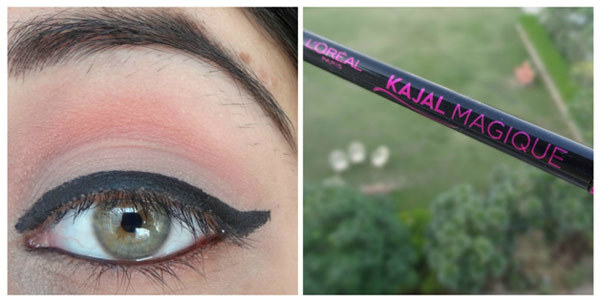
Tight line your water line with a dark black kajal. I am using Loreal’s Kajal Magique.
Step 14:
Curl your eyelashes and apply mascara to make your eyes appear wide and awake. Since it is a day time look, you needn’t use an extra lengthening or volumizing mascara. I have just curled my eye lashes here without coating it with the mascara.
And that is the finished look!
Easy, wasn’t it? Just two different shades of blushes and you are ready with an impressive day time eye makeup look. Next time you travel, become a smart makeup artist and look great without carrying the whole makeup shelf along.
Until next time, take care!



0 comments:
Post a Comment