Let’s be honest – most of us know nothing about applying makeup right! Now, it’s not a big deal. Applying makeup requires practice and most of us lack that. The first thing you need to learn if you want to use makeup to look dazzling is patience! Don’t worry, we are here to help you learn the secret behind applying makeup right. After all, you cannot run to a beauty salon each time you need to go out!
Today, you’ll learn how to create your own beautiful eye makeup with a few simple steps. Still not getting it? Read on!
What Do You Need To Do?
Step 1:
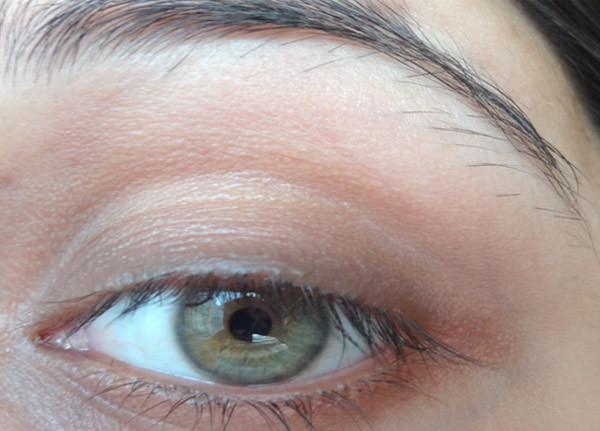
Start by moisturising your eyes. Moisturisation makes the area around the eyes soft and better for eye makeup blending. Apply concealer if required.
Step 2:
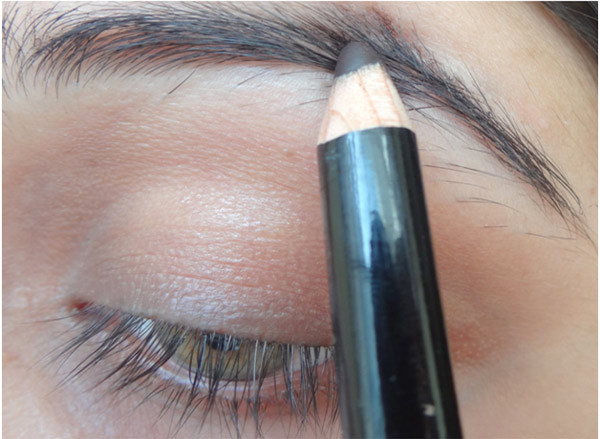
Fill in your brows with wax/powder kits available in the market or use a brow pencil like me.
Step 3:
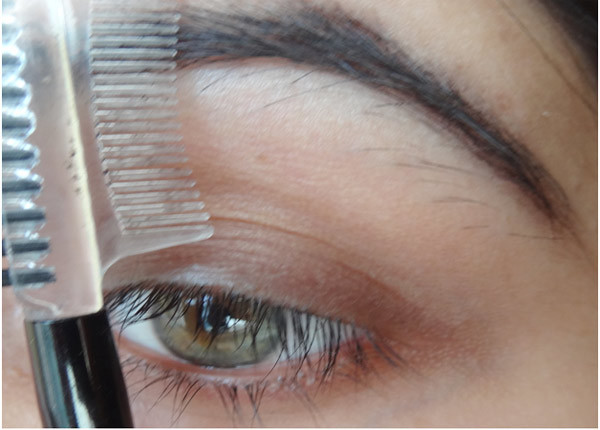
This step really makes a lot of difference to your face and you would not realize its importance unless you try it for yourselves. Comb and brush the brow hair in place.
Step 4:
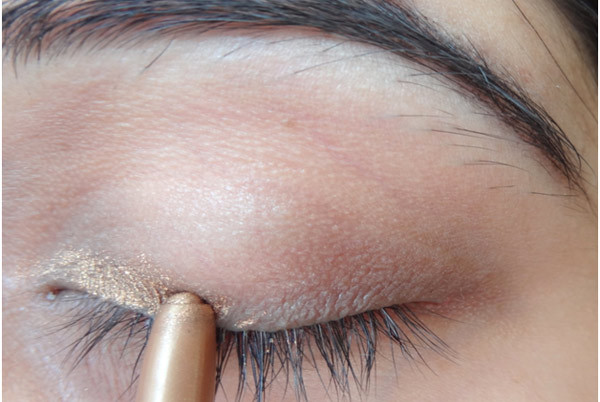
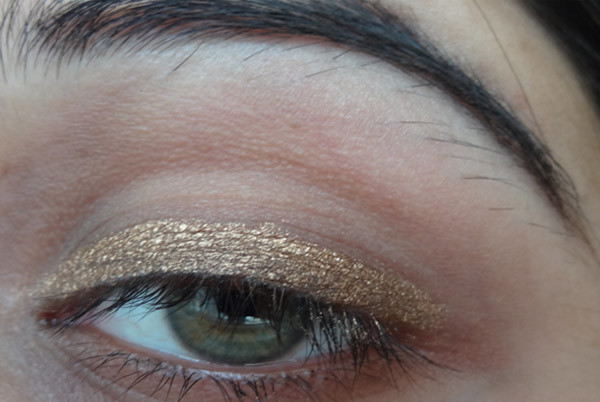
Take bright golden shade eyeliner and start lining your upper lash line. You may use golden gel eyeliner as well.
Step 5:
We want a thick line like the one in the picture. You do not need to be precise in this step. By the way, ignore my droopy eyes in the picture!
Step 6:
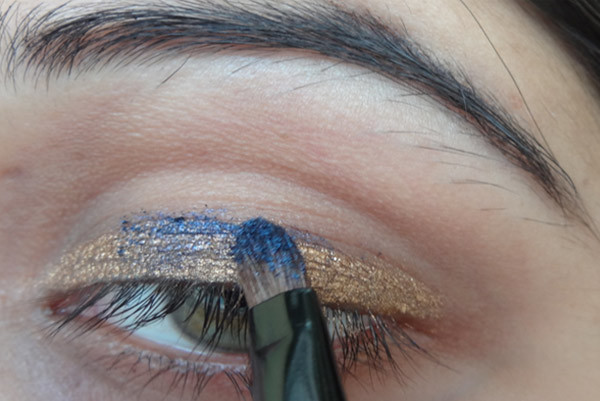
Take a bright blue powder eye shadow and pat it above the golden line all over the lid leaving the inner 1/3rdcorner of your eyes.
Step 7:
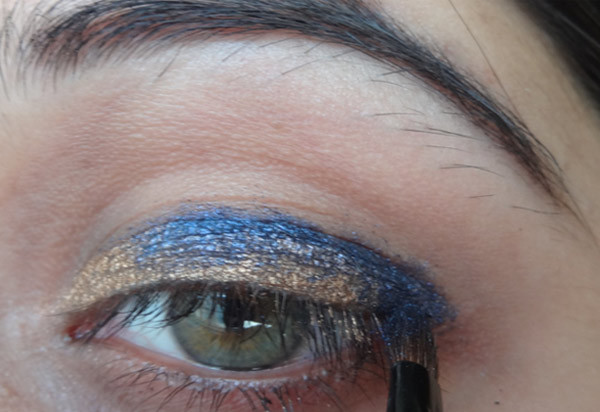
Extend just a little beyond the outer corner of your eyes in a continued line.
Step 8:
So, this is how it looks till this step. The inner corner does not have blue eye shadow and in the outer corner, the blue color overlaps the golden eyeliner.
Step 9:
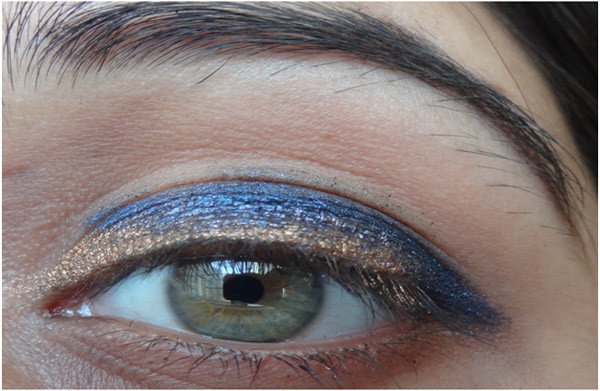
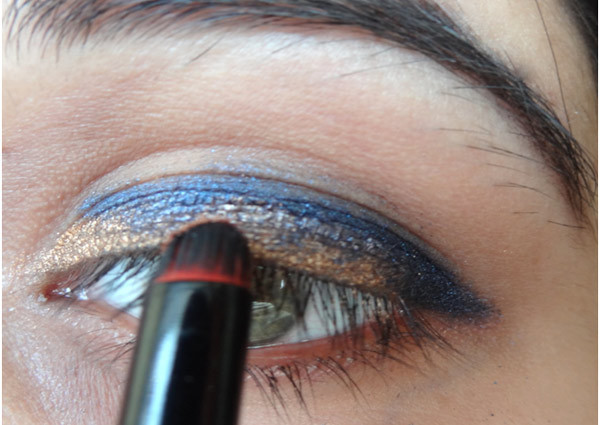
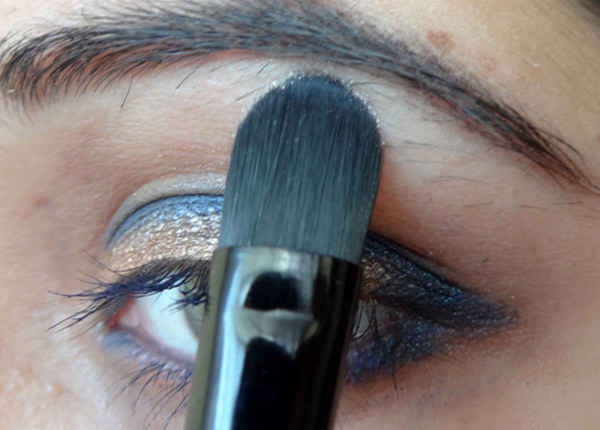
As you can see, the golden shade has lost its definition; we’ll pat golden eye shadow on the area where we intend to intensify the golden hue. Use can liner or pencil brush for this step.
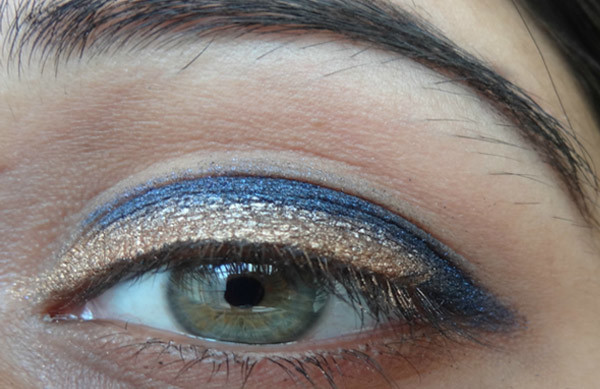
Step 10:
The eyes look so much brighter and popped out with this step.
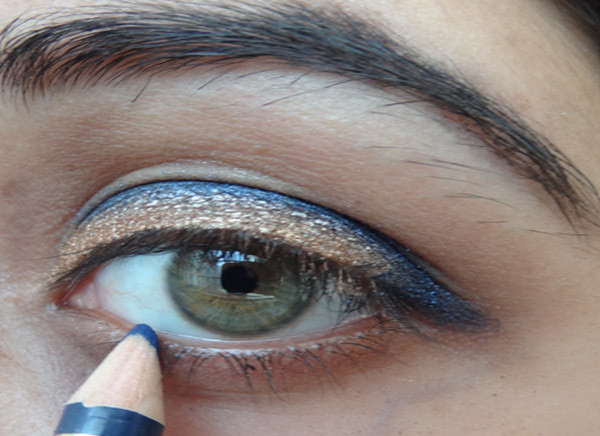
Step 11:
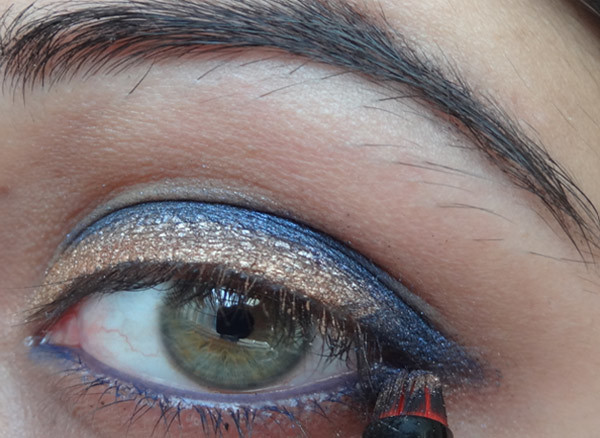
Use blue eyeliner to line the waterline. You may opt for any shade of blue that suits your eyes. I have lined all the way inwards; you may leave out the inner corner if you like. The other option would be applying highlighter in the inner corner and tear duct area.
Step 12:
Blue is running all over your eyes; is that what you are thinking? Let me tell you, we are not yet done with the shade.
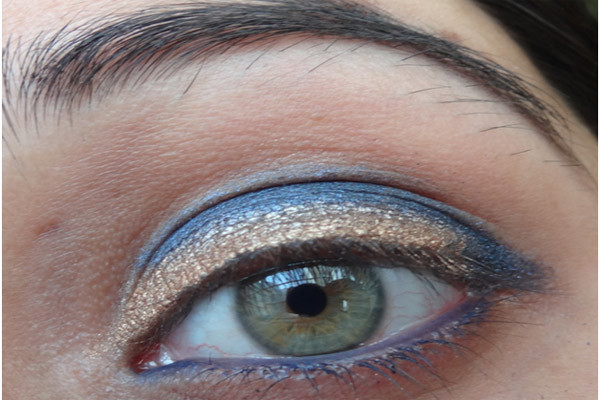
Step 13:
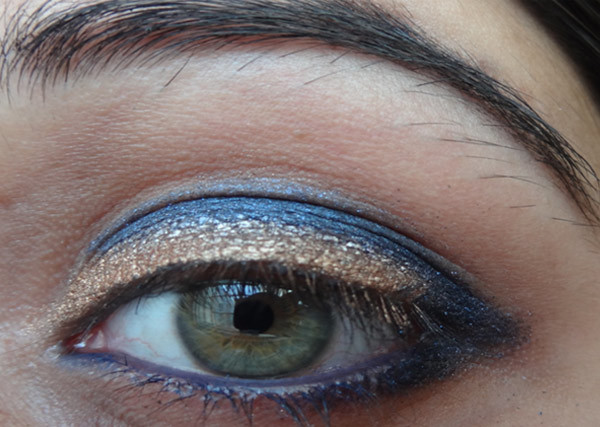
Pick up some blue eye shadow (the one we used on the upper lash line) on a smudger or pencil brush and apply on the lower lash line starting from the outer corner drawing it inwards up to outer 1/3rd of the eyes.
Step 14:
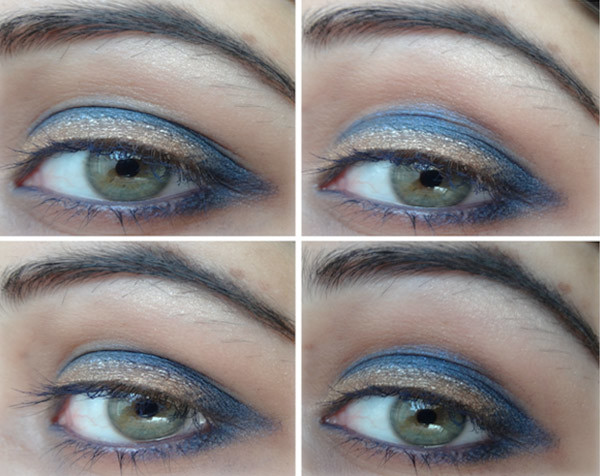
Perfect almond shaped eye is what you get to see by this step.
Step 15:
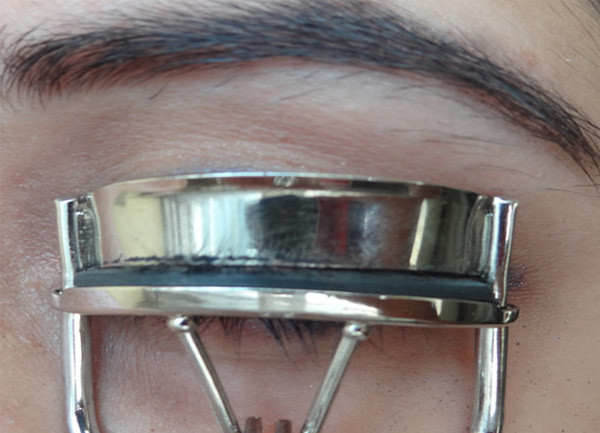
Pick up your curler and curl your lash line properly. This step is very important as it affects your appearance.
Step 16:
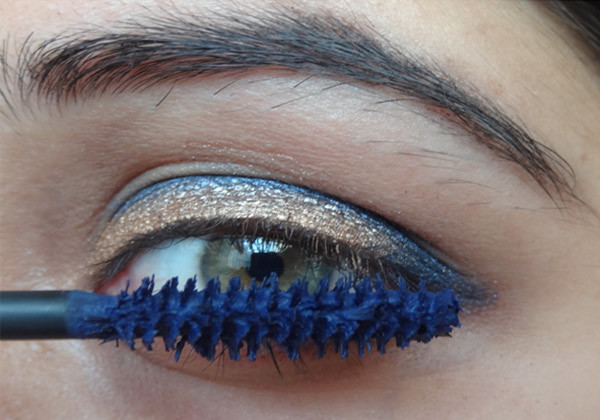
I told you, we are not done with blue as yet; here is what is lined up next- blue mascara! Yes, only then I would be able to justify the title. Pick up a decent blue shade in mascara that does not look over the top unless you are going for a Halloween party!
Step 17:
We are almost done by now, just a little highlighting and we are ready to go. Pick up powder highlighter on a shader or concealer brush and sweep it below your brows. Since this look is most likely to be worn with ethnic attire on a festive occasion, highlighting becomes all the more important to make your makeup look apt for the same.
Now, this is what I call “blue on the edge” eye makeup. Next time you are wearing your favorite blue dress, try this look. I promise, you’ll be flooded with compliments for sure!


0 comments:
Post a Comment