Don’t we all love to doll up? Each one of us is definitely inspired by all the animated characters we see in movies, queens in novels, and doll-like dressed girls in comics. But if you ask me, the prettiest fairytale princess is Snow White. She had flawless skin as white as snow, gorgeous lips as red as blood and lustrous hair as black as ebony. Now, isn’t that how we all want to look? I sure do! If you want to look like a fairytale princess, you will surely love this tutorial!
10 Steps To Get That Snow White Look
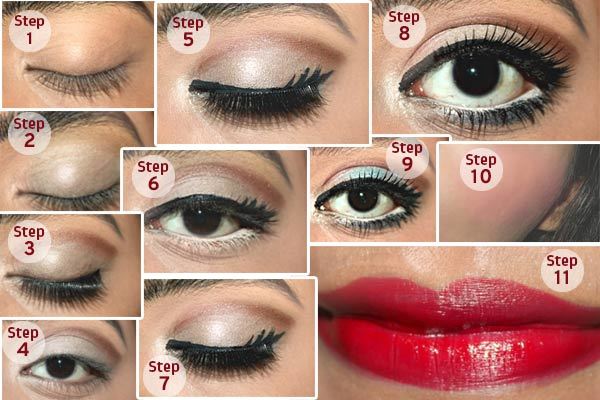
Here is a step-by-step guide on how to get that gorgeous pretty makeup, inspired by snow white!
Step 1:
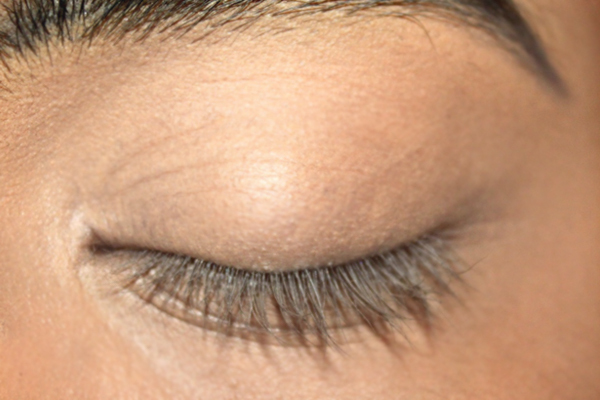
Let’s start by creating a snow-like white flawless skin. Conceal all your dark circles with a heavy duty concealer. This step will lift your eye makeup and create a stronger definition to your eyes. We obviously do not want to look tired and dull with those eye bags—snow white never did! So do not skip this step! Here, I have used Kryolan Derma Camouflage Concealer to hide and lighten my dark circles.
Step 2:
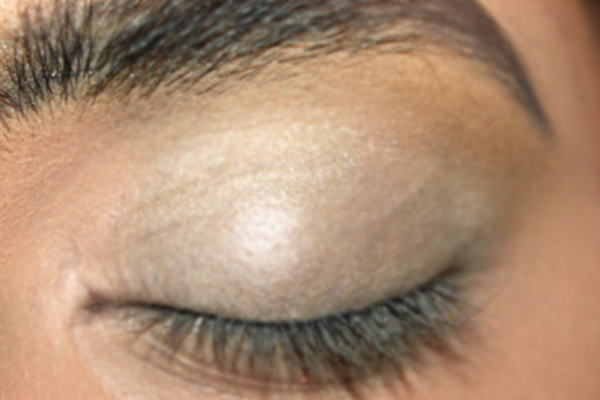
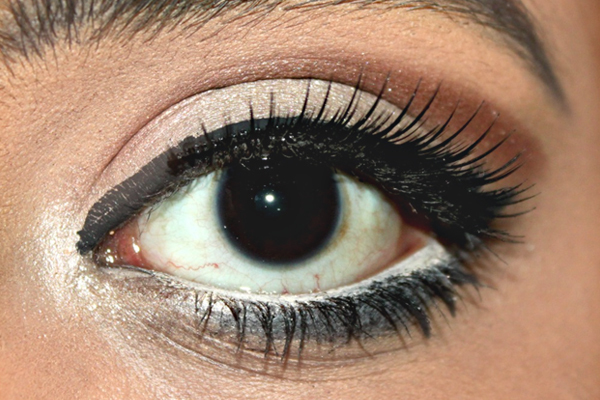
Next, let’s move towards the eye makeup. Gently fill your eye lid area with creamy nude kohl. This step will help in brightening the eye lid area and hide all the pigmentation. If you have fairer eye lids, then you can skip this step. This step does not require you to be neat as we would be smudging it later. Then, apply a soft shimmery champagne eyeshadow over the eye lid area. Here, I have used cream coloured eyeshadow from Elf Day on the Beach eyeshadow palette.
Step 3:
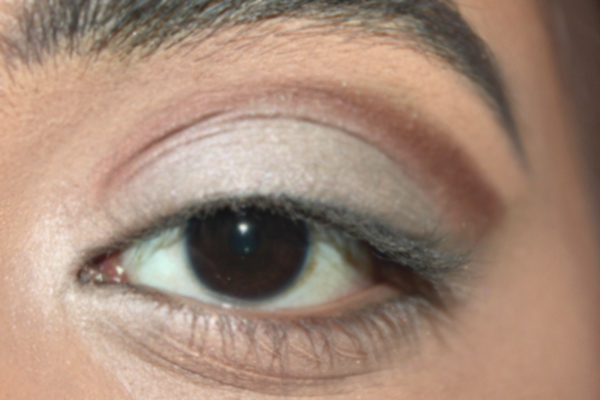
Snow white had big beautiful rounded eyes with defined crease area. To create this look, apply a medium matte brown eyeshadow to the crease area and softly blend it out. Do not over blend it as we are trying to achieve a stronger crease look like snow white.
Step 4:
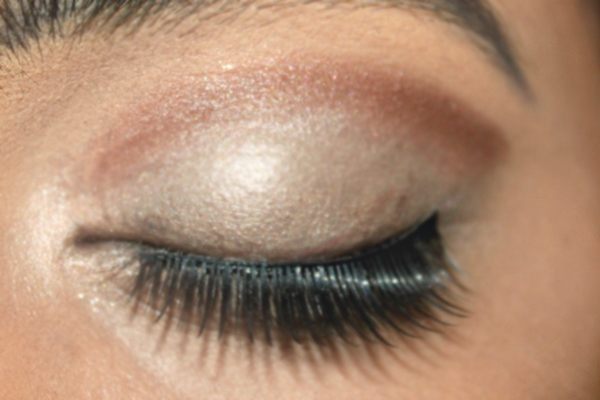
Apply a pair of dramatic false lashes to create an illusion of thicker and fuller eye lashes.
Step 5:
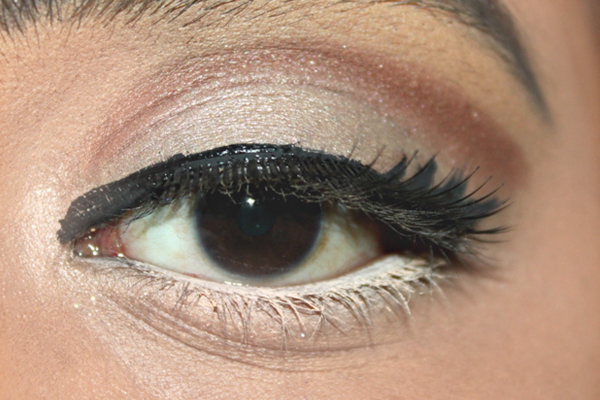
Then, to make your eyes appear big and highlighted, apply a soft creamy nude kohl eye pencil to your waterline area.
Step 6:
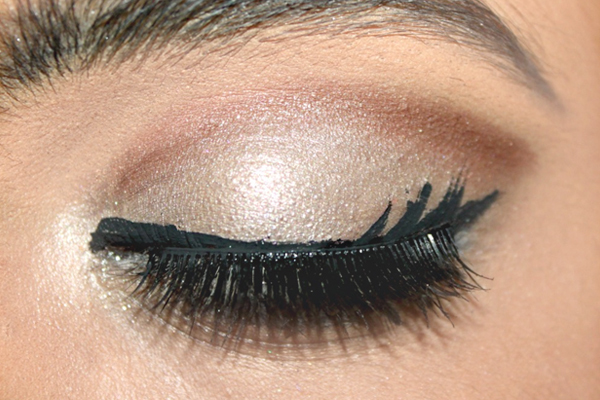
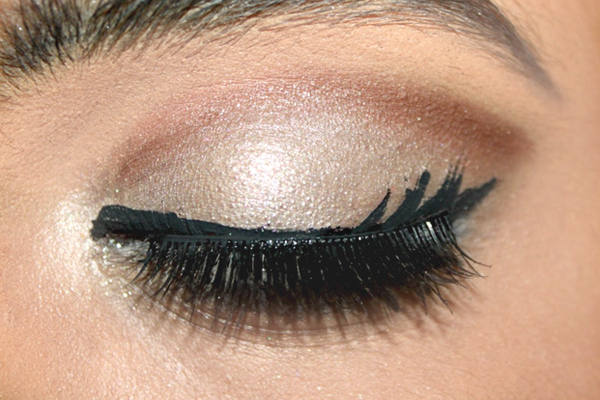
Draw multiple false wings at the outer corner of your eyes to create an illusion of thicker eye lashes. I have used Kryolan Liquid Liner in Black to create the smaller wings.
Step 7:
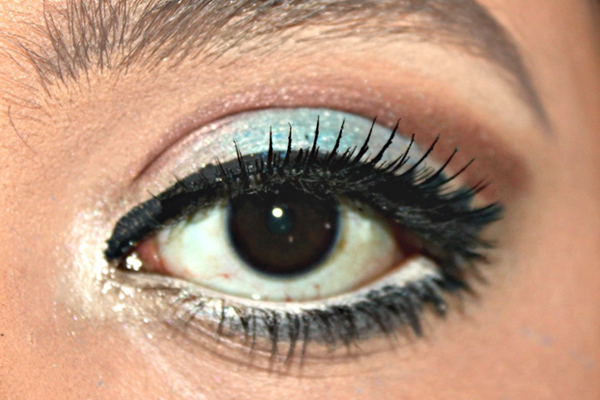
Then, make your lower lash line thick with the help of a gel liner or kohl to outline and define your eyes better. Here, I have used Maybelline Gel liner in Black for this step.
Step 8:
Apply a soft aqua blue eyeshadow in pearl finish to the centre of your eye lid area. Pat the eyeshadow softly and do not over blend it. Here, I have used Claire eyeshadow in Aqua.
Step 9:
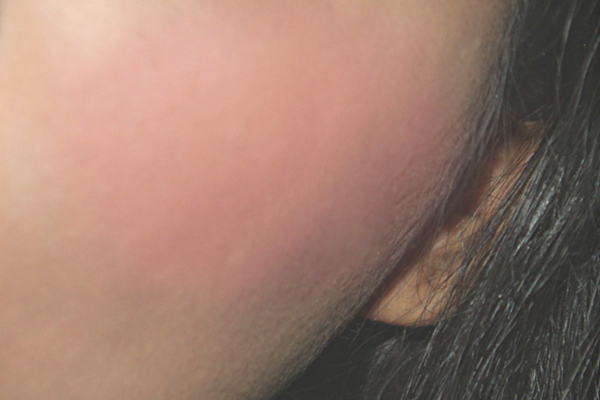
Snow White had beautiful and glowing flawless skin with pink cheeks. Apply a full coverage liquid foundation in a shade lighter than your natural skin tone to achieve a snow-like fairer skin. Use a flat foundation brush or a sponge. Here, I have used Mac Studio Fix Liquid Foundation. Then, set the face makeup with a compact powder to prevent budging. For this step, I used Lakme Face Stylist Compact.
Apply a bright pinkish matte blush to the apples of your cheek area and blend it softly. Here, I have used Lakme Chromatic Blushes in Day Blush.
Step 10:
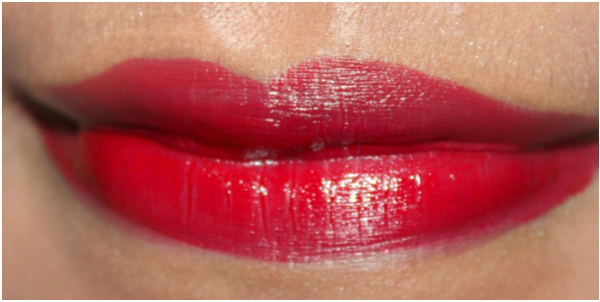
Fill in your lip area with a true red lipstick shade to create a perfect lip color similar to snow white. Here, I have used Mua lipstick in the shade 1.
And you are done!
You are always a princess in your heart but now you can look the part too! With this makeup, you are now ready to rock! This makeup is totally wearable and sophisticated. Do try it and let us know how you fared in the comments section.


0 comments:
Post a Comment